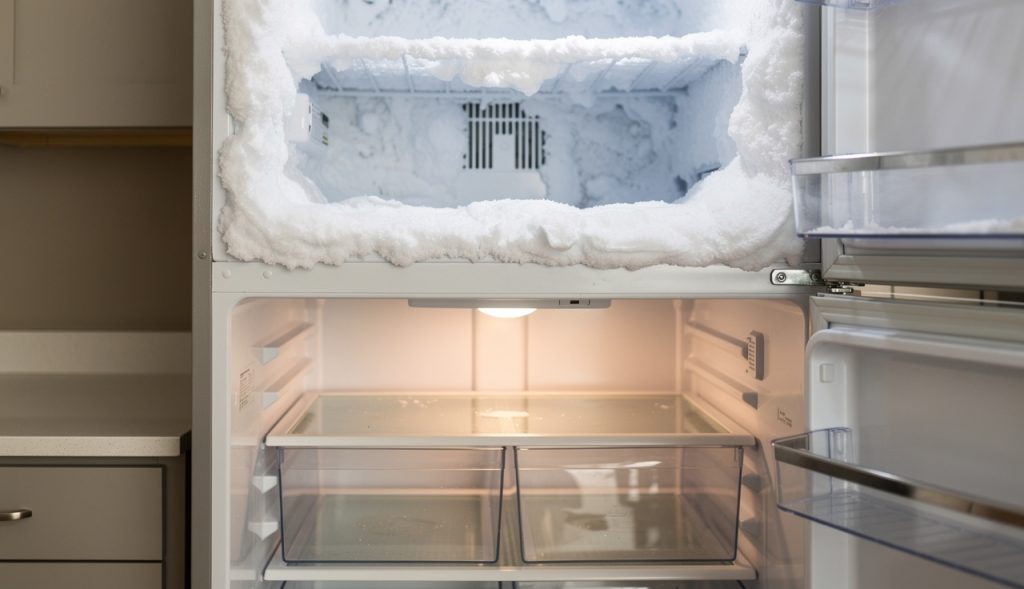
Refrigerator Not Cooling but Freezer Works: Diagnostic Tree
Freezer cold, fridge warm: a step-by-step diagnostic tree in the order a tech checks it.
Read the guide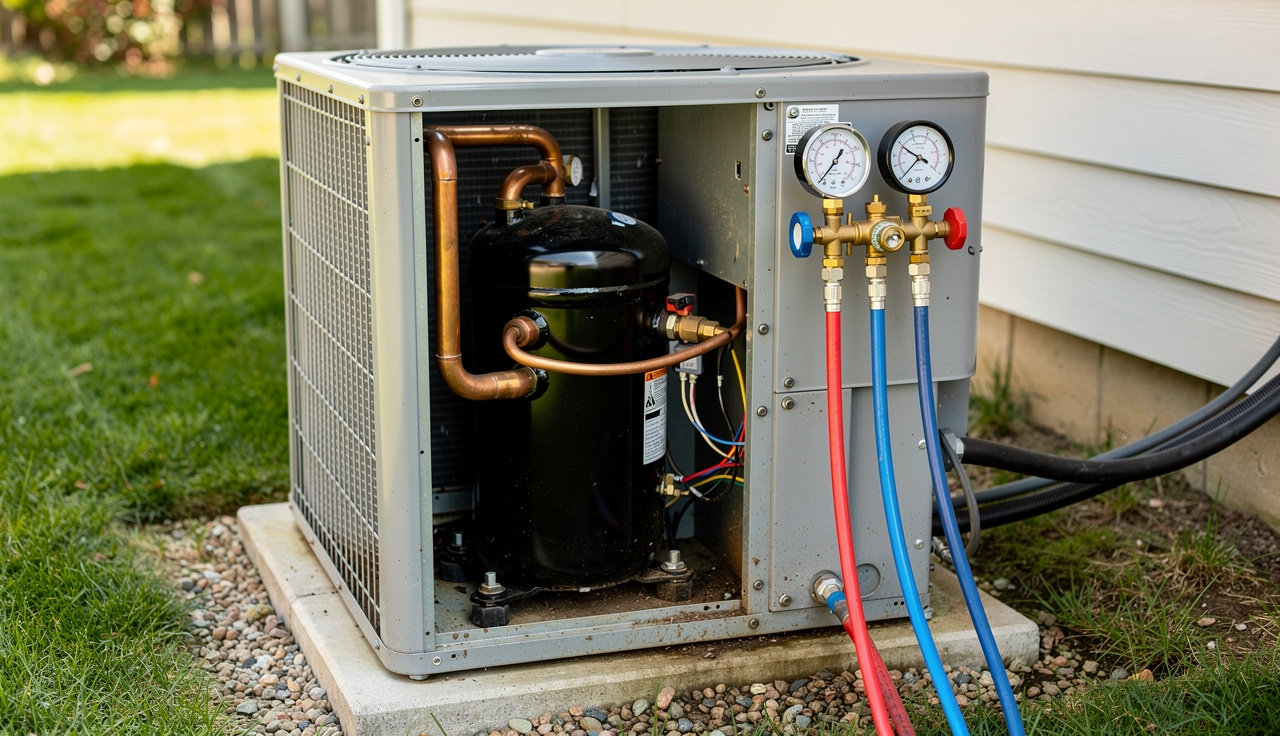
The system runs. You can hear the outdoor unit and feel air at the registers. The house just won’t cool. Before you assume the worst, understand the order of causes: airflow problems and a $20 electrical part account for a big share of these calls, and refrigerant is further down the list than most homeowners think. Work it in this order.
Before any of the deeper checks, do the pass a tech does in the first two minutes. It needs no tools and no gauges, and it sorts most of these calls. One condition first: let the system sit OFF for a while before you start, so any frost on the coil has melted. You want to watch it start from a settled, idle state — not frosted up.
Turn it to COOL and drop the temperature so it calls. Then go outside to the condenser — the box with the fan — and read three things: the fan, the air, and the pipes.
If everything outside checks out and the house still will not cool, come back inside to the thermostat and filter (steps 1 and 2) — and know the last resort on this pass: if there is no power to the furnace or air handler, a hardwired thermostat with a common C wire will usually be dead too. A battery thermostat can look perfectly alive on a system that has no power at all.
Battery-powered stats go stupid at low battery — they’ll hold a setpoint that isn’t real or drop the schedule. Replace the batteries, confirm mode is COOL, and set the fan to AUTO, not ON. Fan ON runs the blower all the time and re-evaporates the condensate off the coil, which makes the house feel clammy and warm. Check for a schedule or hold override that’s fighting you. Free fix.
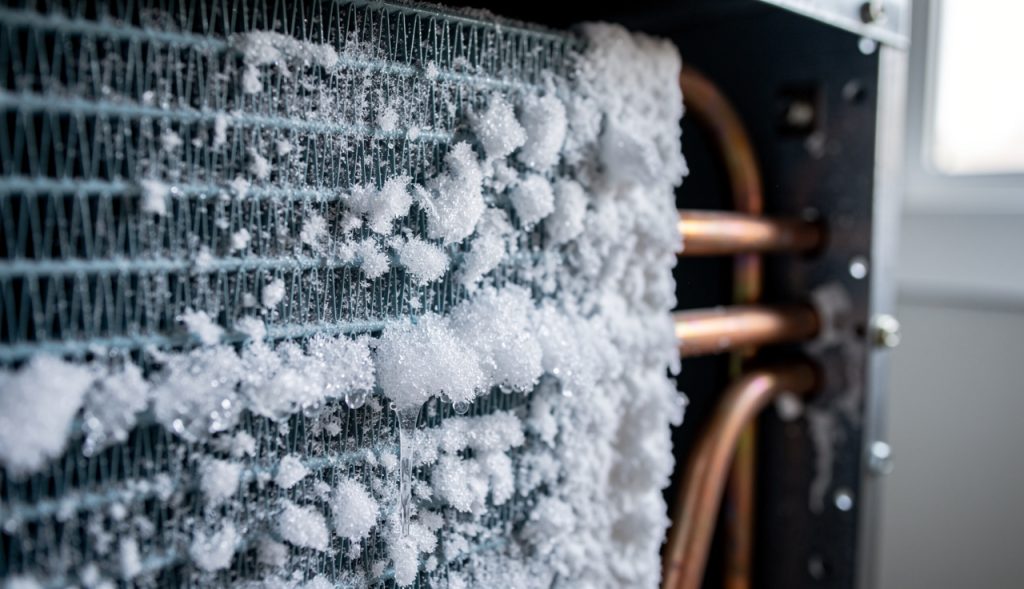
Pull the filter. If you can’t see light through it, it’s strangling the system. A starved coil gets cold enough to freeze. Look for ice on the copper lines at the outdoor unit, or frost on the indoor coil through the air-handler access. Thaw procedure: turn the system off at the thermostat, set fan to ON to move air, and give it 2–4 hours, or just shut it down overnight with the filter out. Do not run it with ice on the coil — liquid refrigerant can slug the compressor. New filter $5–$20. What the result tells you: if it cools after a thaw and a fresh filter, the filter was the whole problem.
Stand at the condenser. Is the fan on top actually spinning? If it hums and never turns, jump to check 5. If it spins, look at the coil — St. Louis cottonwood and grass clippings mat the outside face fast. STOP: shut the power off at the disconnect before you touch anything in that cabinet. Pull the pull-out block or flip the breaker; the capacitor and line voltage are still live otherwise. Rinse the coil gently from the top down with a garden hose. No pressure washer — you’ll bend fins and drive dirt deeper. Coil cleaner is $15–$25 if it’s greasy. Keep two feet of clearance around it.
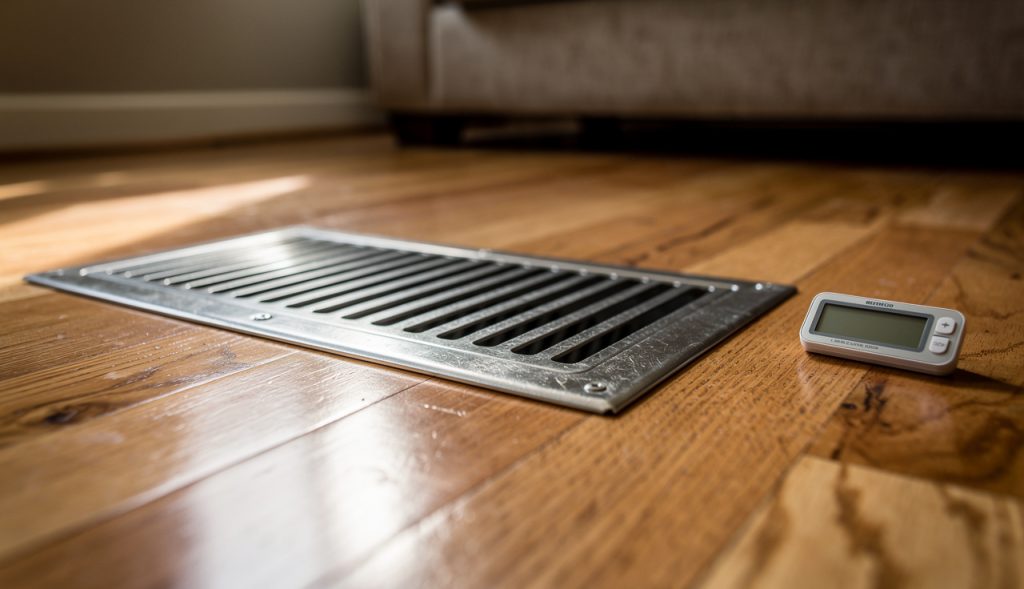
Walk every room. Closed supply registers, a rug over a return grille, furniture against a return, a clogged filter grille — all of it cuts airflow and can freeze the coil even with a clean filter. Open the ones you closed and vacuum the return grilles.
If the unit was cooling an hour ago and now it just hums, strains, or sits silent, the first suspect is the dual-run capacitor — one can that runs both the compressor and the fan on most condensers. Signs: the fan is slow to start, the unit hums and trips the breaker, or the compressor clicks off after a few seconds. The part itself is $15–$45; a capacitor service call runs $150–$300 total in most markets.
The safety sequence, in order: pull the outdoor disconnect AND switch the 240-volt breaker off inside. Then prove the power is dead with a meter or a non-contact tester before your hands go in the cabinet. After the disconnect there shouldn’t be power — but people wire things creatively, and “shouldn’t” is not a test. STOP: a capacitor holds a lethal charge even with the power off. It must be discharged properly before terminals are touched. If that sentence is new to you, this is where DIY ends and the $150–$300 call is the smart money.
If you do swap it: the old can’s top is usually rusted — photograph it before moving a single wire. The terminals are lettered: C is common, HERM goes to the compressor, FAN to the fan motor. Move the wires one at a time to the same letters on the new can. Universal replacements may show one extra terminal or jumper option — the letters still rule. Match the ratings printed on the old can (microfarads and voltage), and have the contactor checked while the cabinet is open.
The half of this job almost everybody skips — and the reason the capacitor died: clean the coil while you’re standing there. A condenser is a giant outdoor air filter; it inhales everything around it. With the power still off, hose the coil from the top down in slow left-right sweeps about as wide as each grille section and watch the dirt pour out the bottom. The worst setup in new construction: the dryer vent mounted right beside the condenser, blowing lint straight into the coil — a unit in that spot can need cleaning monthly. A matted coil can’t breathe, so head pressure and temperature climb, the compressor runs hot and inefficient, and the capacitor cooks. Blown capacitors are usually the first sign of a dirty coil, not the whole story — swap the can without cleaning and you’ll likely be back inside a season.
Button it up, restore power, and let it run 15–20 minutes to stabilize — that holds for R-410A and the newer refrigerants alike. Then the no-gauges verdict: the big suction line should be cold and sweating, and the air off the top fan should be warm. If it is, you’re tuned in about as far as eyes and hands can prove.
If the filter is new, the coils are clean, registers are open, and the air coming out of the vents is only 8–12°F colder than room temperature (it should be 15–20°F colder), suspect charge. The pipe test from the walk-around is your no-gauge early warning: a system short on charge rarely gets that big line cold and sweating the way it should. Refrigerant does not get used up. Low means a leak. A legitimate repair is: find the leak with an electronic detector or nitrogen pressure test, fix it, evacuate the system, and weigh in the charge to the data plate. Topping it off and walking away is a waste of your money and, under Section 608 of the Clean Air Act, refrigerant may only be handled by EPA-certified technicians — venting is illegal. A leak search and repair on accessible joints runs $250–$600; refrigerant itself runs roughly $75–$150 per pound installed on an R-410A system, and a residential system holds about 4–15 pounds.
Expect $99–$189 for the diagnostic, often credited toward the repair. The tech should check filter and airflow, indoor and outdoor coils, capacitor and contactor, measure superheat and subcooling, check amp draw, and tell you what he found before he quotes anything. A “tune-up” that is only a filter swap and a hose rinse is not a diagnostic.
Ask a tech what destroys the most property in this trade and the answer is the air conditioner — not by freezing or burning, but by leaking. All summer, your system pulls moisture out of the air and sends it down a condensate drain. That drain clogs about once a year with hair, rust, and whatever residue blows around in the air. When it clogs, the water backs up and pours down — typically right on top of the furnace control board sitting below the coil. It fries the board, ruins whatever is underneath, rots a wood floor, and rusts out the furnace and air handler. And because it happens in July, nobody connects it to the furnace that will not start in October.
The prevention is once a year and takes minutes. Go to the end of the drain line, put a shop vac on it, and suck the clog out. Then prove the line is clear: pour water in at the coil if you can reach it and watch it come out the end, or run the AC and confirm condensate builds and flows.
One trap — literally. Many drains include a water trap, a dip in the line that holds water to block air. Vacuuming the line can suck that trap dry, and an empty trap causes its own trouble. After you clean the line, the trap has to refill. Run the AC five to ten minutes and check the drain end: if you feel air being sucked through the line toward the furnace, the trap is empty and pulling air. Two fixes: plug the end of the line with your hand for a few seconds — you become the trap while the water rises and fills it — or simply turn the system off and let the water flow down and fill the trap on its own. Some installs have an access cap for refilling it directly. Next start, it should drain the way it was built to.
If the system is 15 years or older, uses R-22, and needs a compressor or an evaporator coil plus a leak repair, the repair can hit 30–40% of a new system. At that point replacement is usually the better money. A full system in the St. Louis area in 2026 runs roughly $6,000–$12,000 installed depending on tonnage and SEER2. Run your numbers through the calculators on this site before you sign a repair estimate.
STOP: do not open the outdoor electrical panel or the indoor air-handler cabinet unless the disconnect and breaker are off. Line voltage and stored capacitor charge are both in there.
Freezer cold, fridge warm: a step-by-step diagnostic tree in the order a tech checks it.
Read the guideReal installed costs, real failure modes, and which one fits your house - no sales pitch.
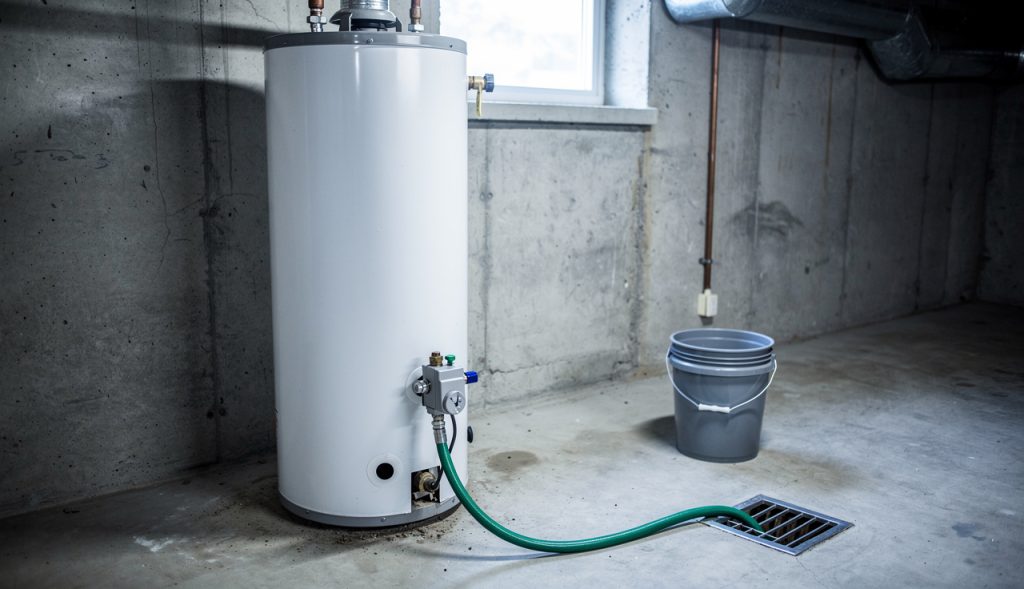
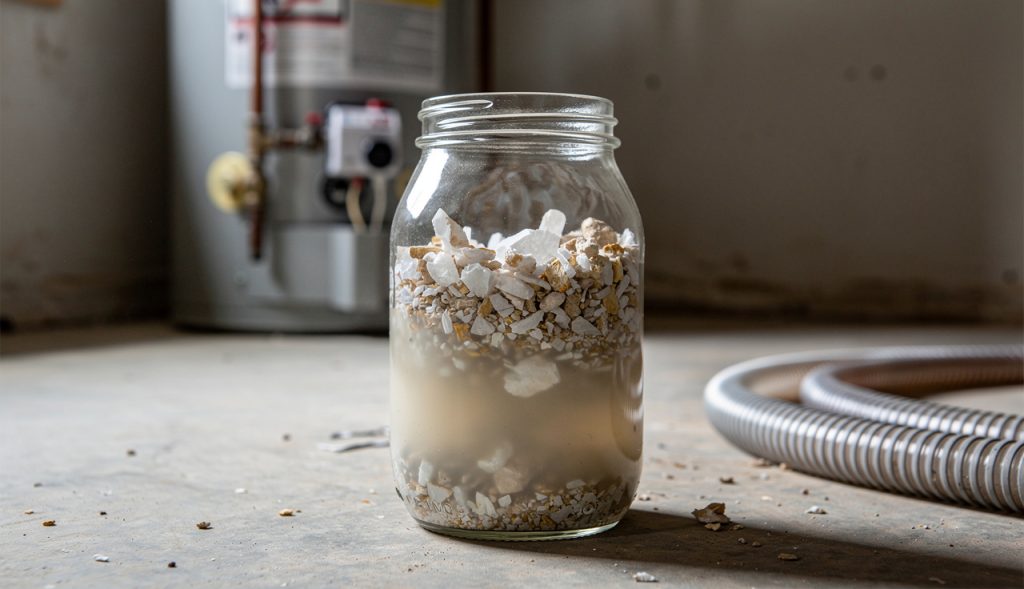
Read the guideSediment shortens a water heater life. How to drain and flush it safely, step by step.
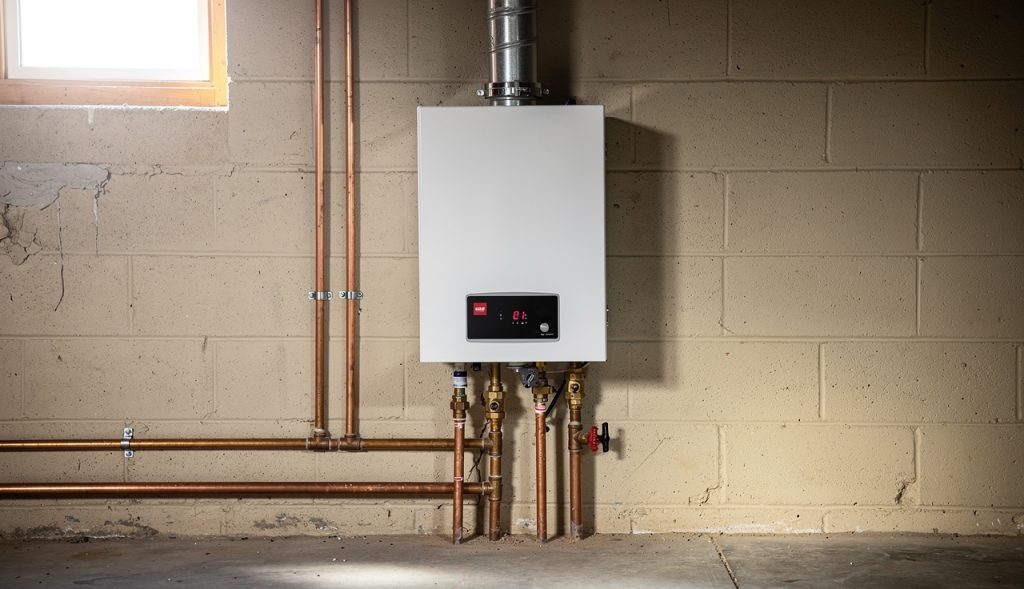
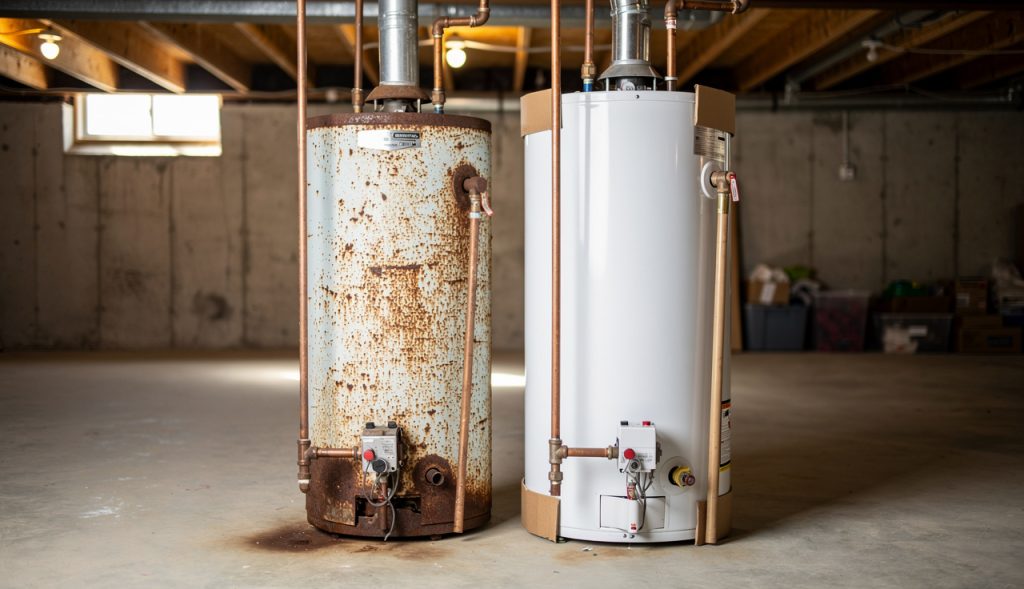
Read the guideWhat a water heater replacement actually costs in 2026 - tank and tankless, with the extras itemized.
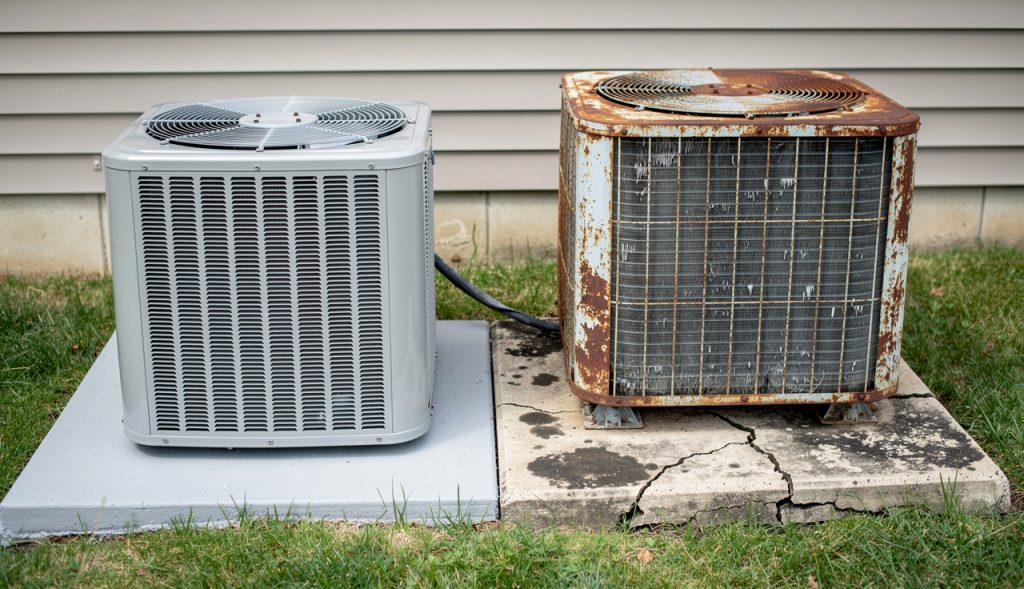
Read the guideWhat homeowners actually pay for a new AC in 2026, and the line items that move the price.
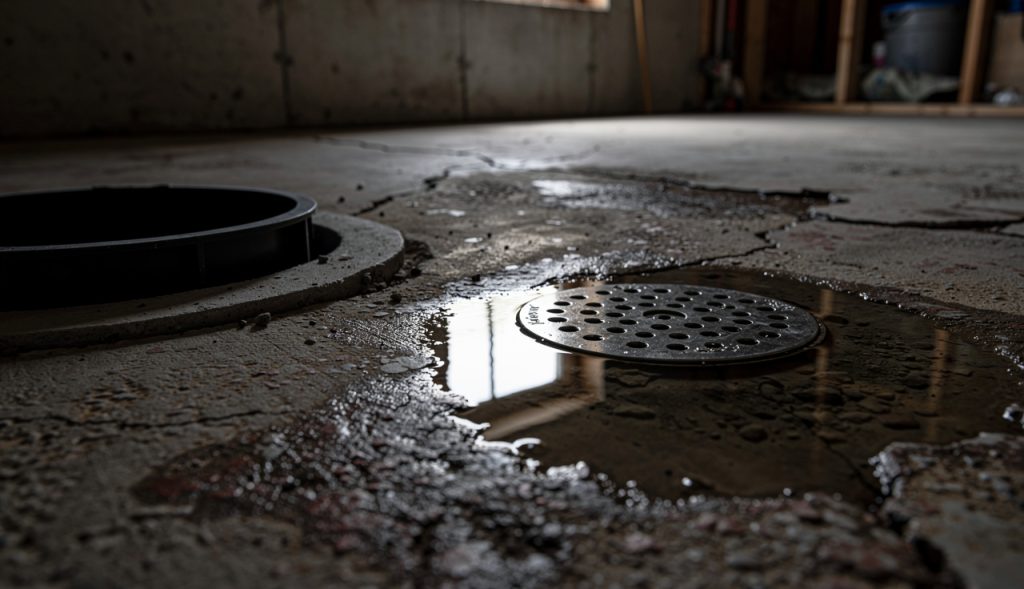
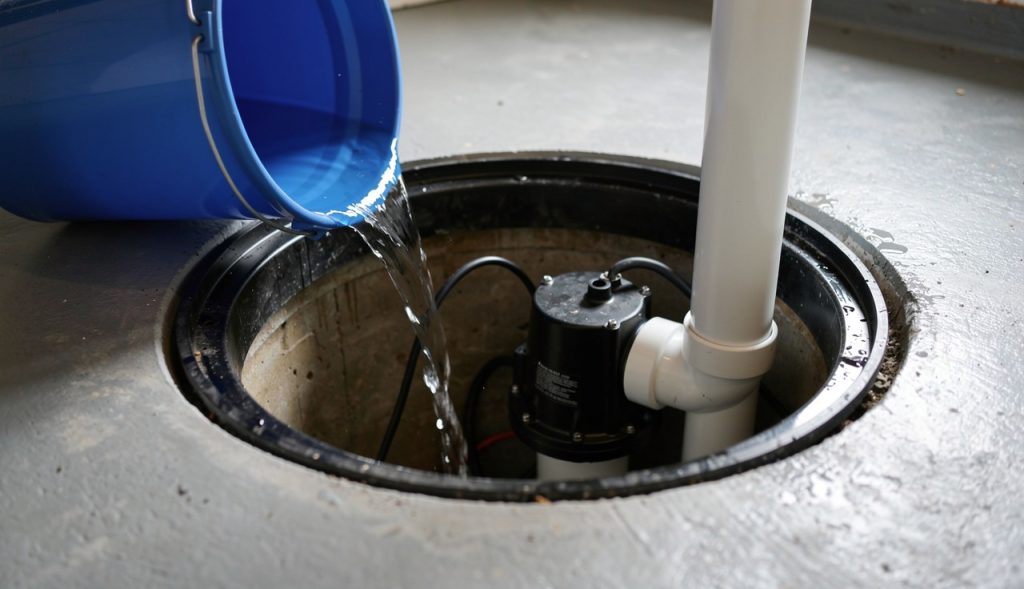
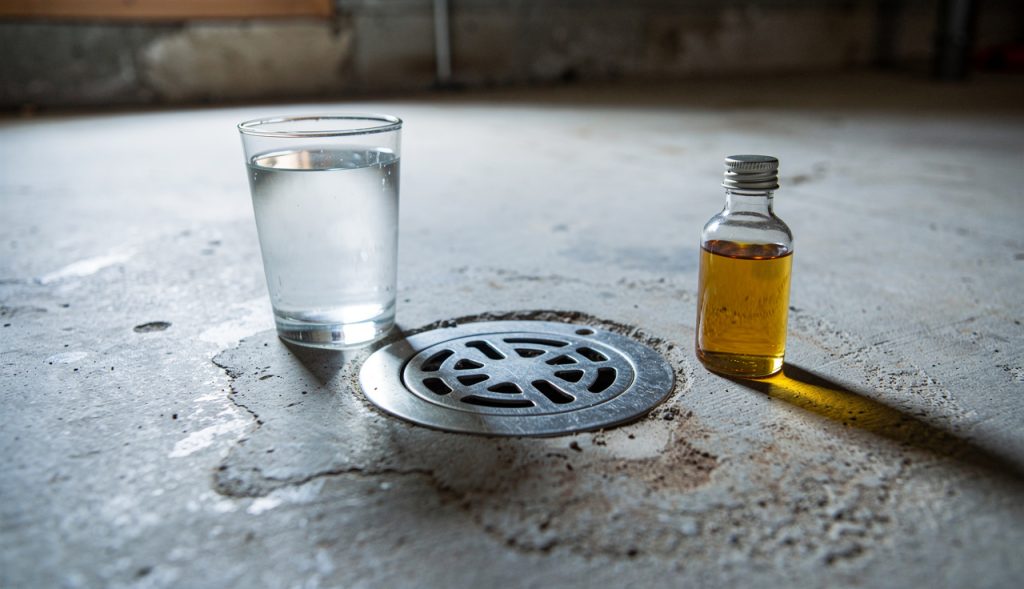
Read the guideWater sitting in a basement floor drain is not always a clog. Sometimes that drain empties into a sewage ejector pump, and the pump is dead.
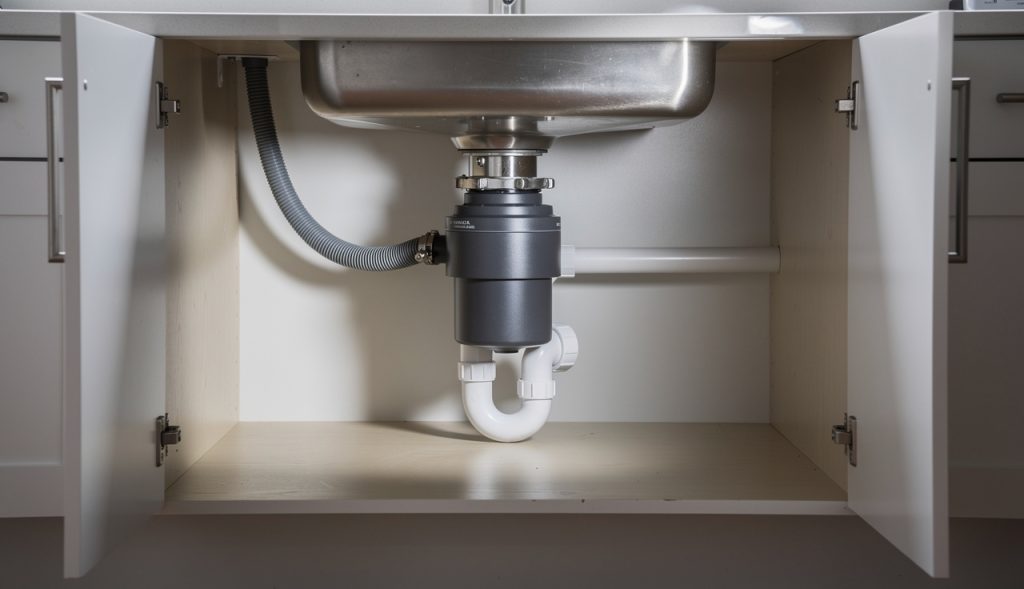
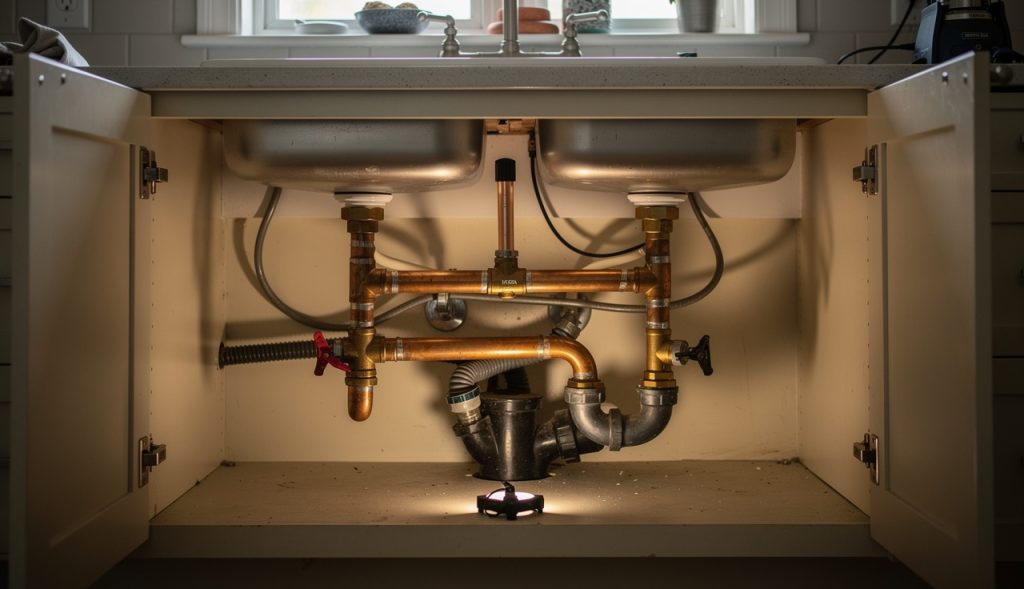
Read the guideIf the dishwasher stopped draining the week a new garbage disposal went in, it is probably not the dishwasher. A plastic plug the size of a bottle cap is the usual culprit.
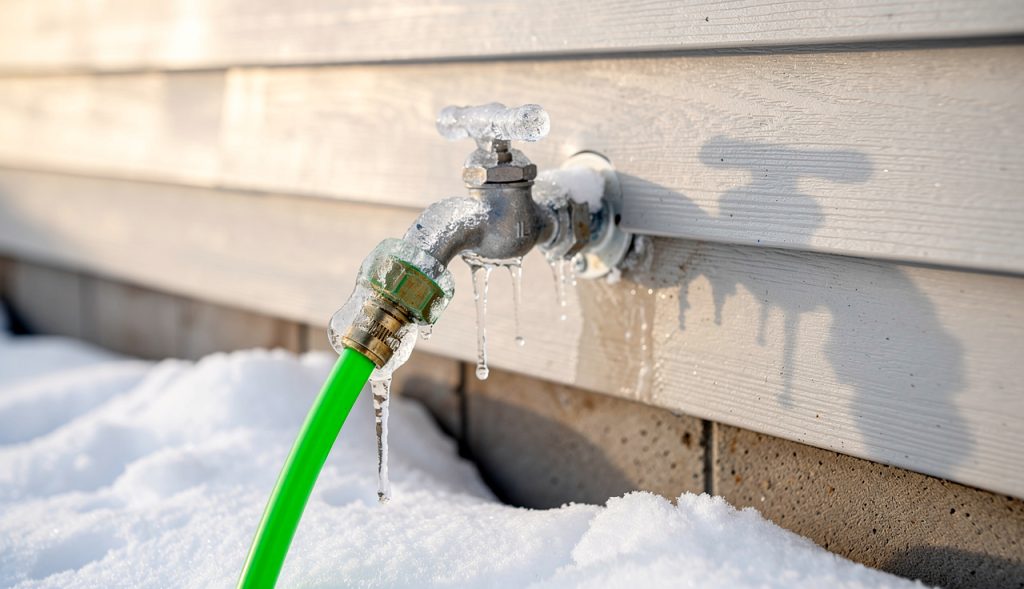
Read the guideWinter kills equipment through small skipped steps. First tip: a frost-free hose bib still freezes solid if the hose stays screwed on all winter.
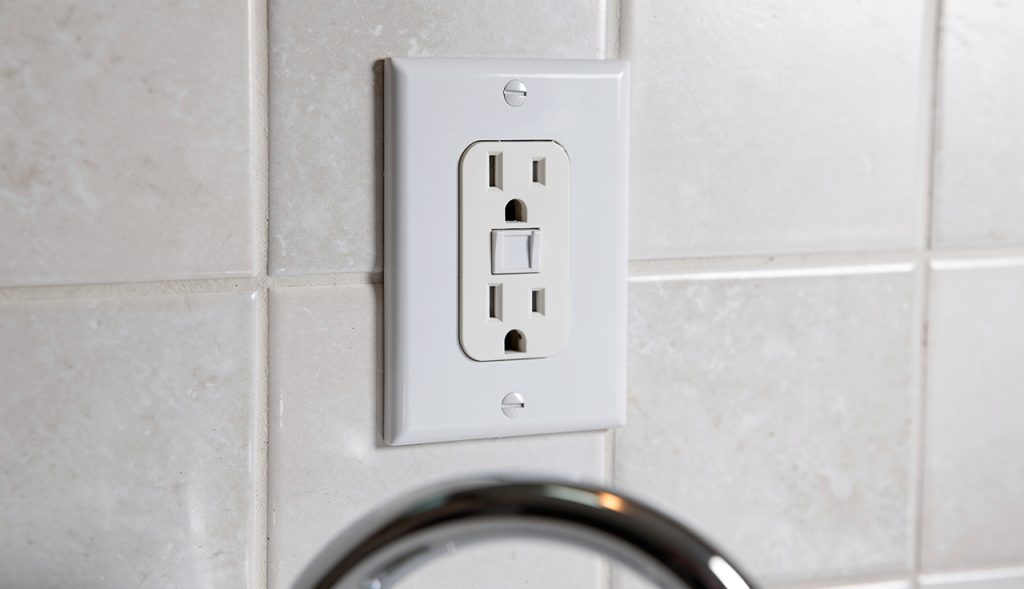
Read the guideAll the bathroom outlets dead at once, lights still on? One GFCI on the chain tripped — and it may be in a different bathroom. The one-minute fix, and when it is not the fix.
Read the guideA tripped breaker sits halfway and won't reseat from there — push it fully off first, then on. Plus the two-column trap, the wiggle test, and when a re-trip means stop.
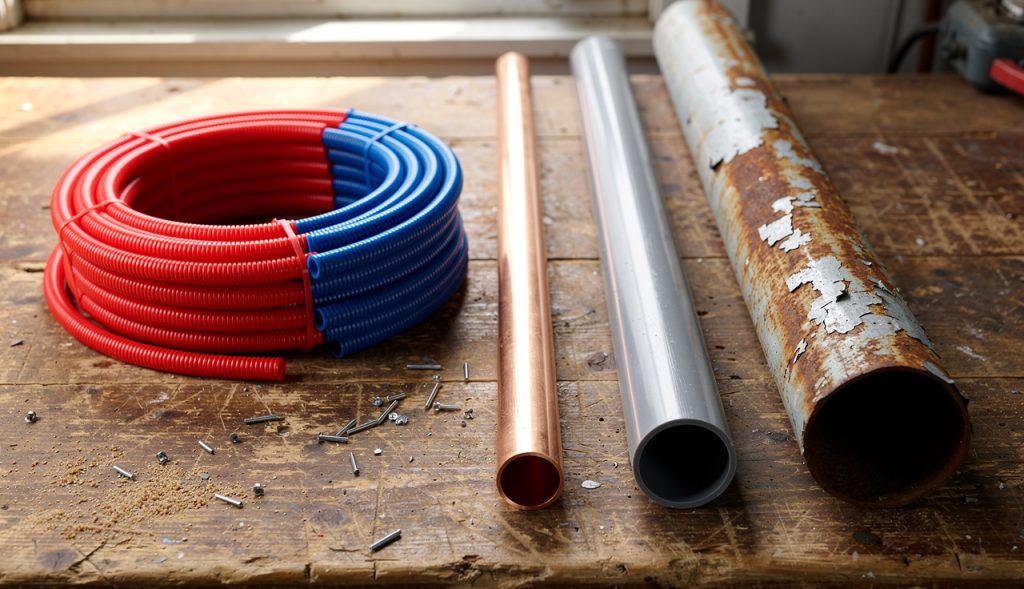
Read the guideCPVC, copper, the gray polybutylene, galvanized, or modern PEX — how to name the pipe in your house or mobile home on sight, how each one fails, and what to replace it with.
Read the guideLEDs do not burn out like old bulbs — when their driver capacitors wear out, they blink. Here is the check order: bulb, socket tab, switch — plus the ladder warning that matters more than the bulb.
Read the guideIf anything in your home burns gas, CO alarms are not optional — where they go, why the bedrooms come first, and why a chirping alarm gets a battery, never a burial in a drawer.
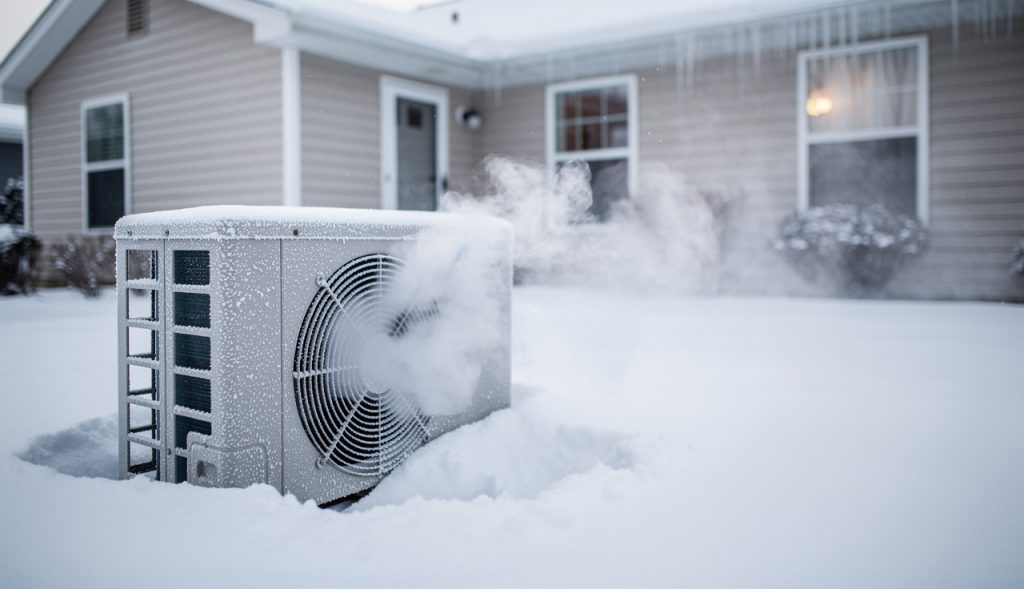
Read the guideSteam pouring off the outdoor unit, fan stopped, a whoosh from the cabinet — in winter that is defrost mode, not a fire. How the cycle works, and the signs that mean it is not defrost.
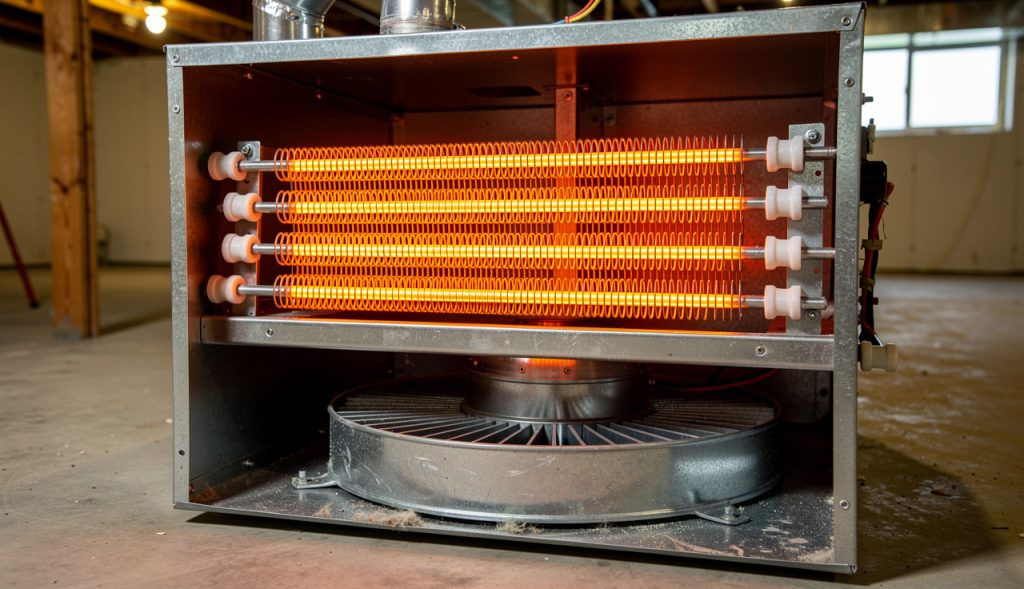
Read the guideBelow the balance point your heat pump calls in electric resistance strips that cost about 3x as much to run — and the EM HEAT switch can lock you onto them full-time. The checks, in order.
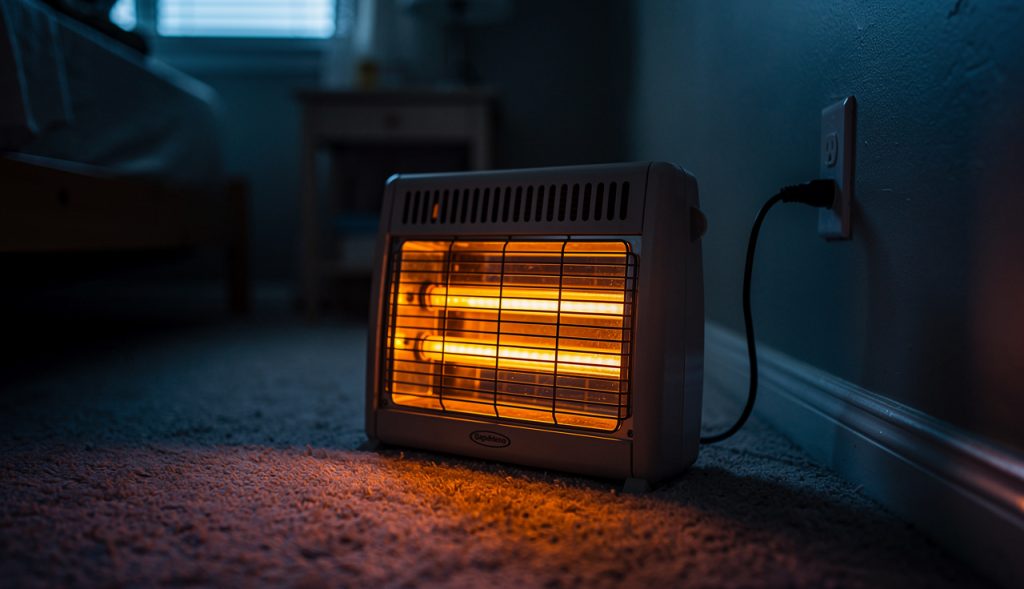
Read the guideOne 1,500-watt heater is 12.5 amps — the entire continuous budget of a 15-amp circuit. Why the trips stack up at night, and why the extension cord is the most dangerous part.
Read the guideA chirp means low battery OR end of life, and they sound the same. Read the date on the back first: smoke alarms expire at 10 years, CO alarms at 7 to 10. The check order that ends the 3 AM chirp.
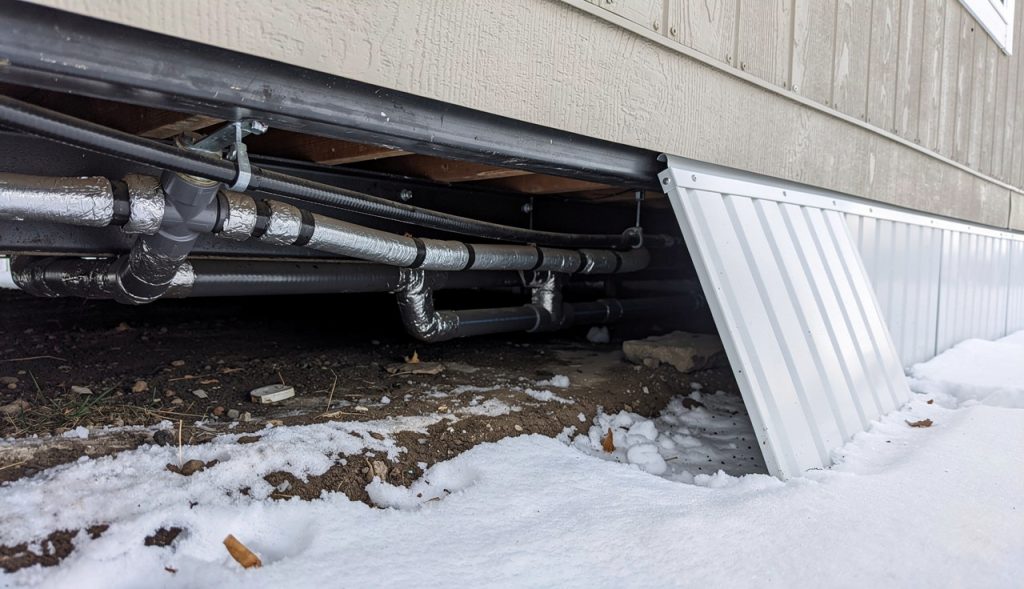
Read the guideMobile-home lines live in the belly and freeze in one hard night. Where the freeze starts, heat tape and skirting done right, and the one thawing tool that burns homes down every winter.
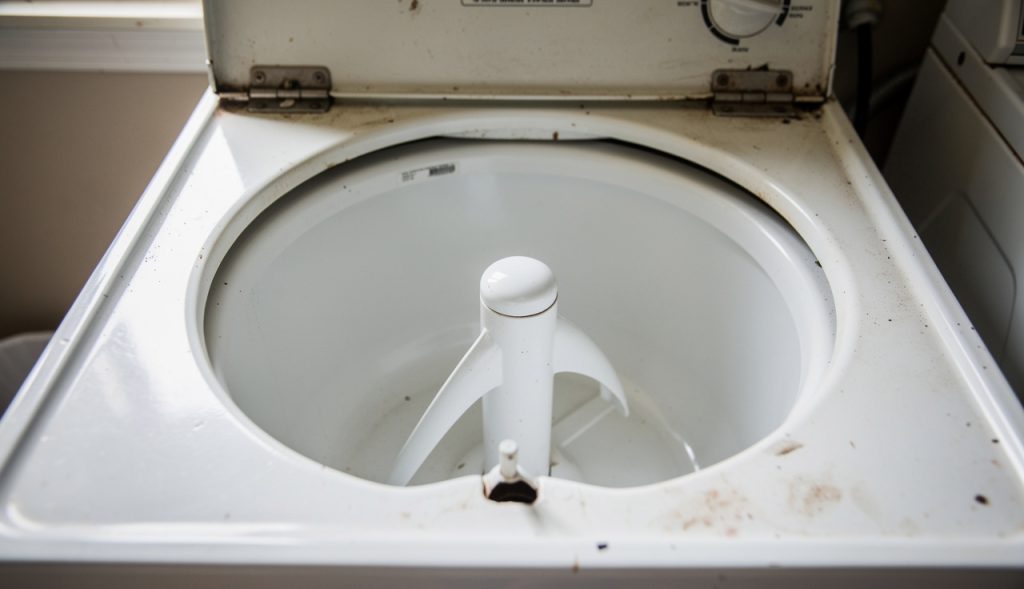
Read the guidePush the empty tub sideways. If it stays where you pushed it instead of springing back to center, the snubber ring is worn — the real diagnosis from a 2006 Maytag, and why WD-40 makes it worse.
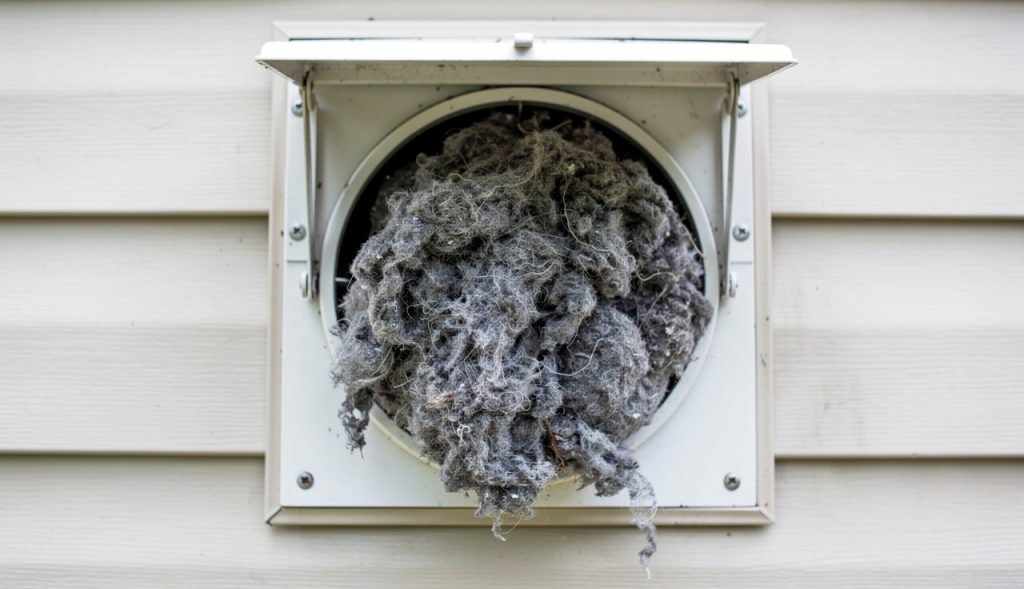
Read the guideA dryer that gets hot but dries slower every month almost never needs an element — it needs its vent back. The screen clog at the outside wall, the slack-coil mistake, and why hard pipe is the safe answer.
Read the guideThat bang is a pressure shockwave slamming your pipes. Which valves cause it, why air chambers stop working, when arrestors fix it — and when high house pressure is the real culprit.
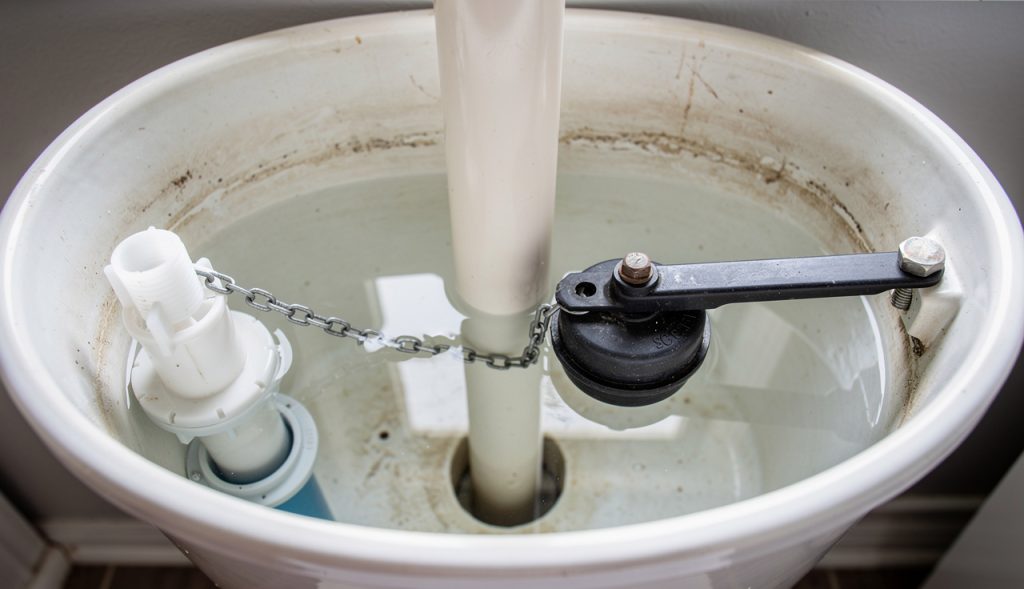
Read the guideThe tank is slowly leaking into the bowl and the fill valve keeps topping it off. The 20-minute dye test proves it, the flapper fixes it for under fifteen dollars — hundreds of gallons a month say do it this week.
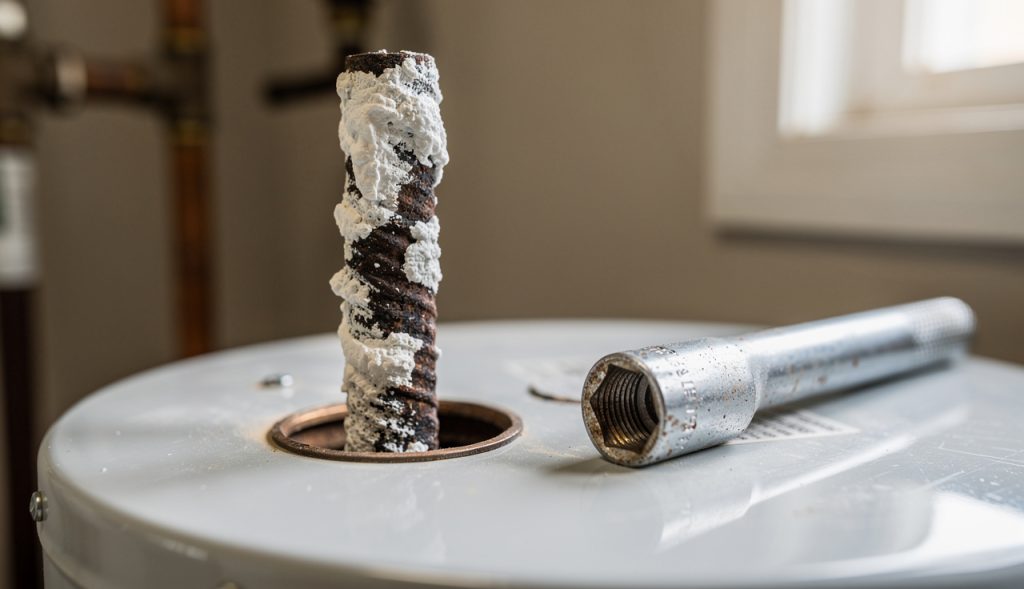
Read the guideHot water only + rotten eggs = bacteria reacting with the sacrificial anode rod inside your tank. The heat sanitize, the aluminum-zinc rod swap, and the powered rod that ends it for good.
Read the guideThe pops are little steam explosions under a blanket of mineral scale. What the sediment is doing to your tank and your bill, how a real flush goes, and when the damage is already done.
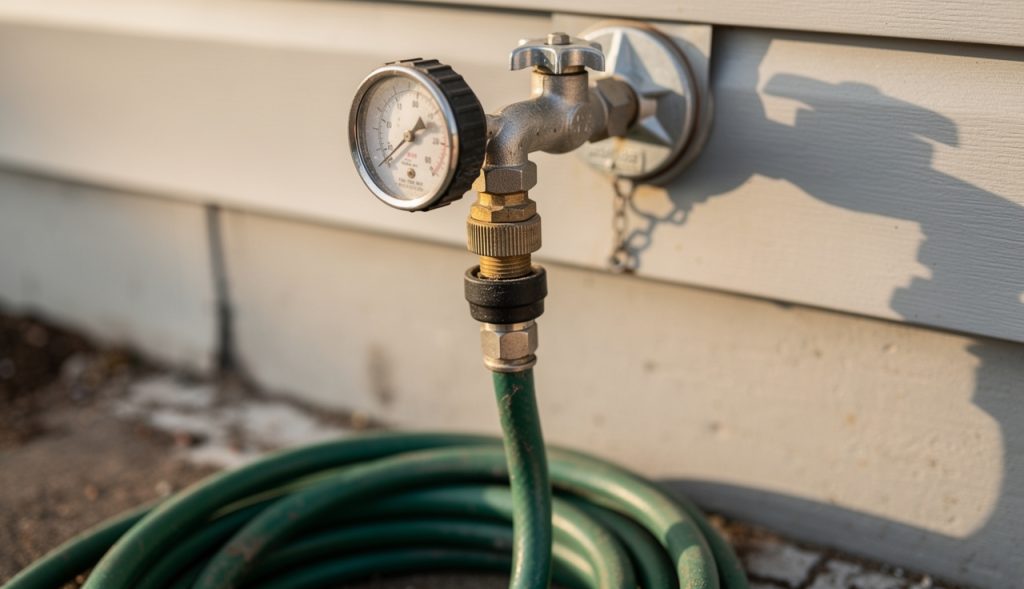
Read the guideA fifteen-dollar gauge on an outside faucet tells you the truth in two minutes. Normal is 40 to 80 psi — over that eats appliances, under that has its own list of causes.
Read the guideFive gallons of water and two minutes: either your pump proves itself or it tells you it is dead while the pit is still dry. Floats, check valves, and the battery backup that ages out in the drawer.
Read the guideYour home runs on two 120-volt legs. Lose one and half the house dies while the dryer runs but will not heat. Why this is the power company first call — and why a lost neutral is the emergency version.
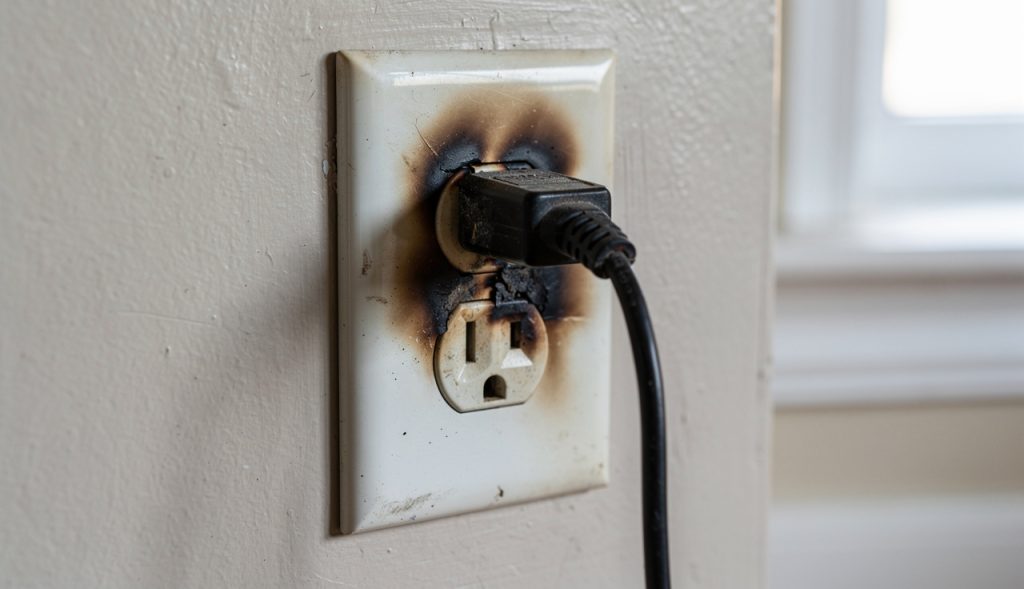
Read the guideWarm with nothing plugged in is a warning, and buzzing usually means arcing at a loose connection — often a backstabbed wire letting go after twenty years. The safe checks, and the stop lines.
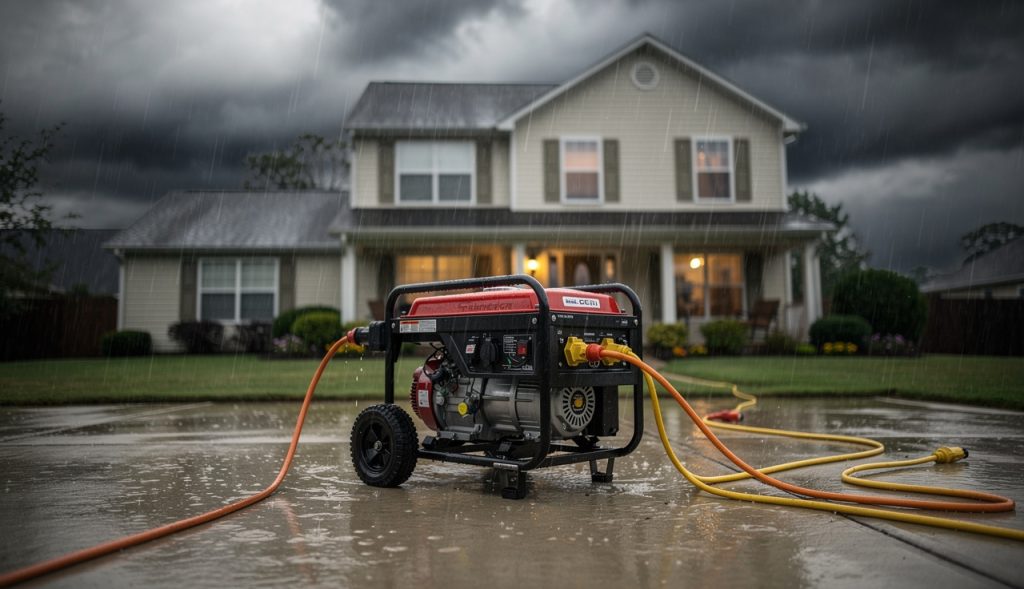
Read the guidePlugging a generator into your house the wrong way energizes the lines outside at full voltage. The safe ladder — cords, transfer switch, interlock — and the one cord that is never allowed.
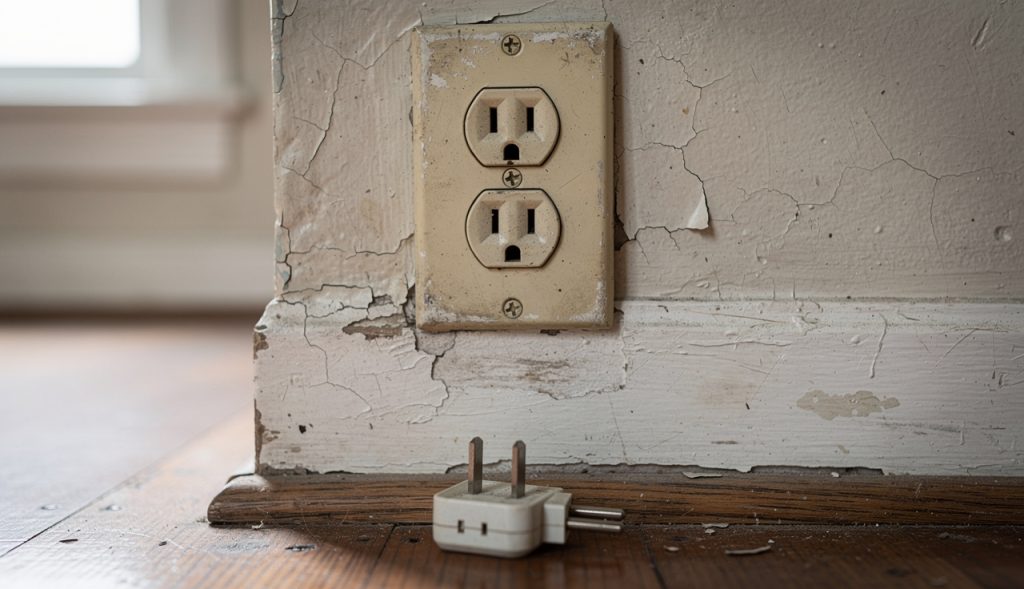
Read the guideNo ground wire does not mean no options. GFCI protection is legal and protects people, a real ground protects equipment, and the two-dollar cheater plug does neither. The ladder, cheapest first.
Read the guideA furnace that will not stay lit through a cycle is aging in dog years. The check order starts with the filter and the limit switch story — and ends with the one cause that has been there since install day.
Read the guideShipping bolts, level feet, a springy floor, one heavy bath mat, then the suspension itself. Both machine types, the push test for the suspension, and why a walking washer never gets run unattended.
Read the guideA mobile home water heater is not a house water heater with a different sticker on it. The tank connects from the side — the cold inlet and the hot outlet bo...
Read the guideMobile home furnaces are downflow units — the blower pushes heated air down into a duct system that runs under the floor. They are also built for the higher ...
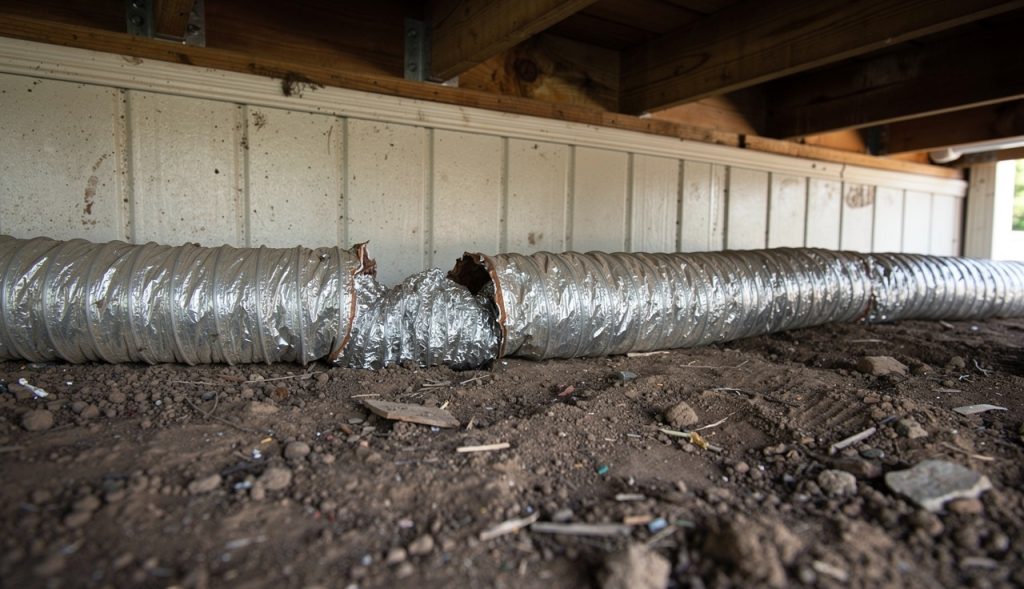
Read the guideOn a double-wide, one flexible duct under the home carries all the air to the far half of the house. It is called the crossover duct, and when it is crushed,...
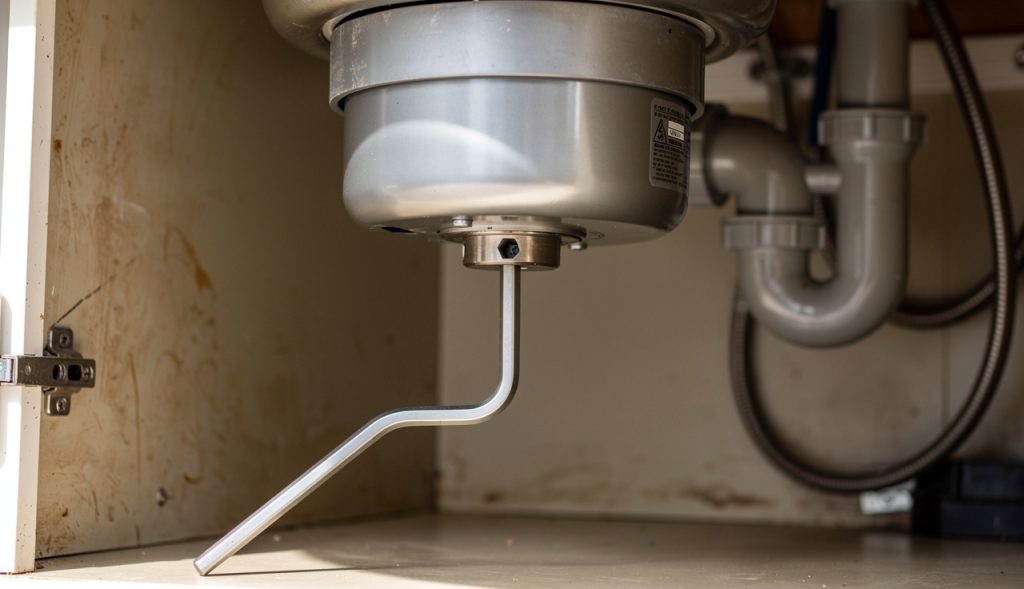
Read the guideA disposal that hums is a disposal that is getting power but cannot spin. The motor is alive and the flywheel is jammed — usually a bone chip, a bottle cap, ...
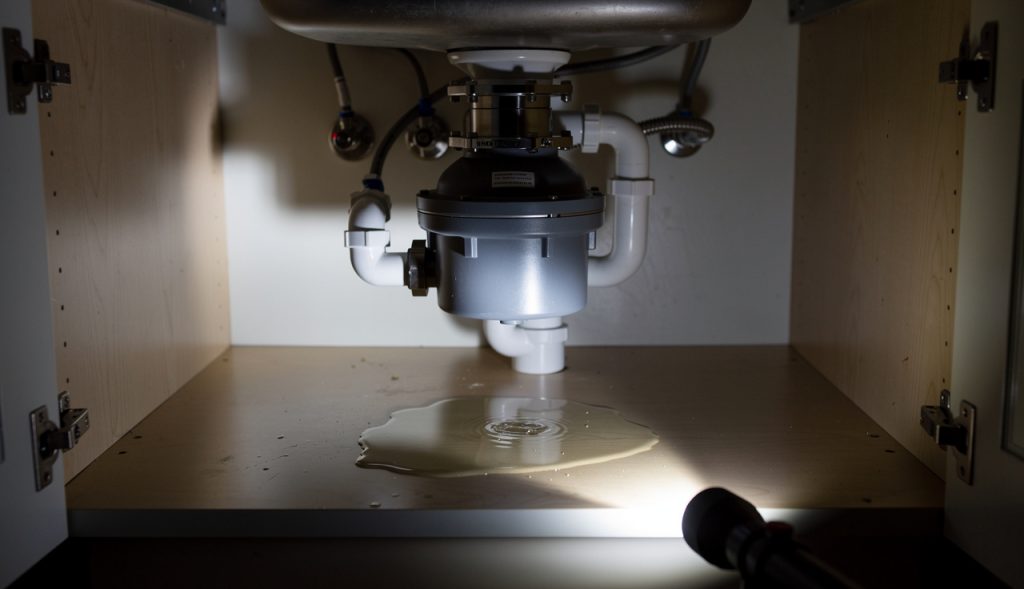
Read the guideWhere a disposal leaks tells you what the fix is. Dry the whole unit and the cabinet under it with a towel, then run water — sink running, disposal off — and...
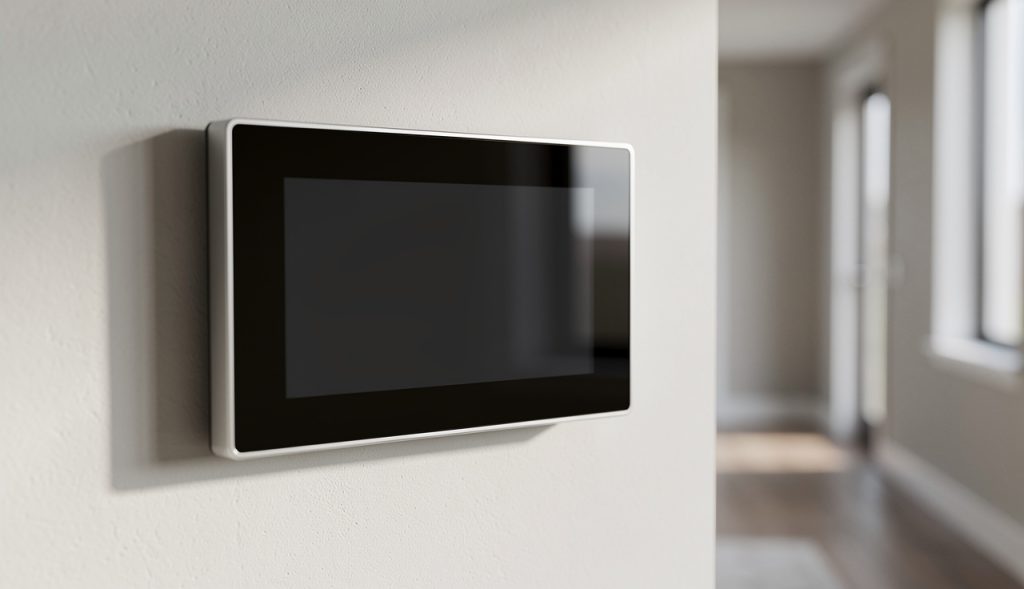
Read the guideA blank thermostat screen is a power problem, not a thermostat problem, most of the time. The thermostat needs low-voltage power from the furnace or air hand...
Read the guideBefore you diagnose anything, find out which machine you are standing in front of. A gas furnace blowing cool air and a heat pump blowing cool air are two di...
Read the guideIce on the refrigerant lines means the system is running below freezing at the evaporator coil, and that only happens for a couple of reasons — restricted ai...
Read the guideHere is how an electric water heater thinks: the upper thermostat and upper element heat the top of the tank first. Only when the top is up to temperature do...
Read the guideA gas water heater with no hot water is usually one of three things: the pilot is out, the thermocouple will not hold the pilot lit, or the gas control valve...
Read the guideEvery drain in the house holds a U of water in its trap. That water is the seal that keeps sewer gas out of the living space. A drain that never gets used — ...
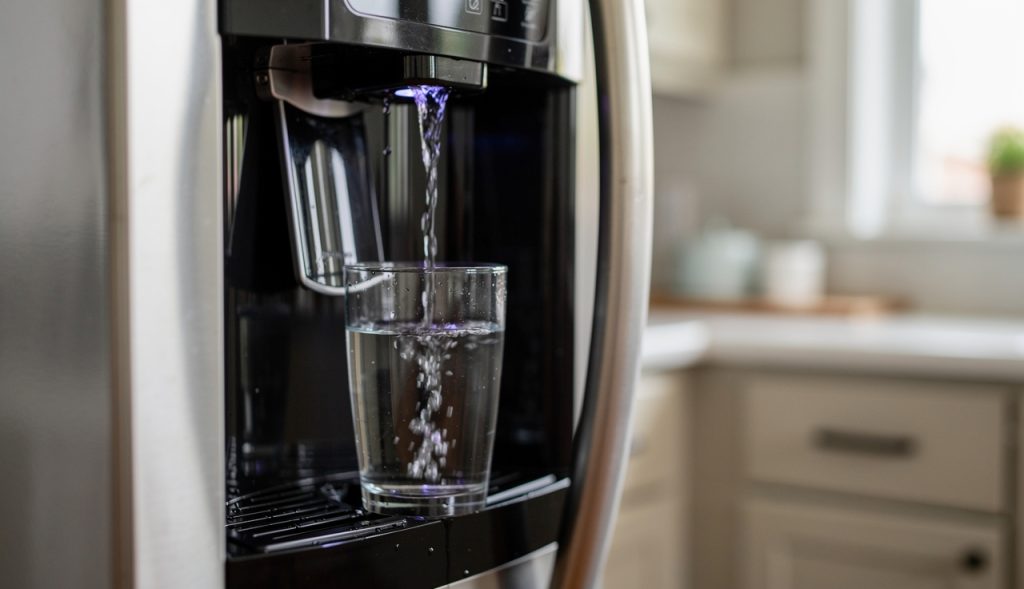
Read the guideA slow or dead refrigerator water dispenser is almost always a water supply problem, not a refrigerator problem. Work the list in order: the filter first, th...
Read the guide