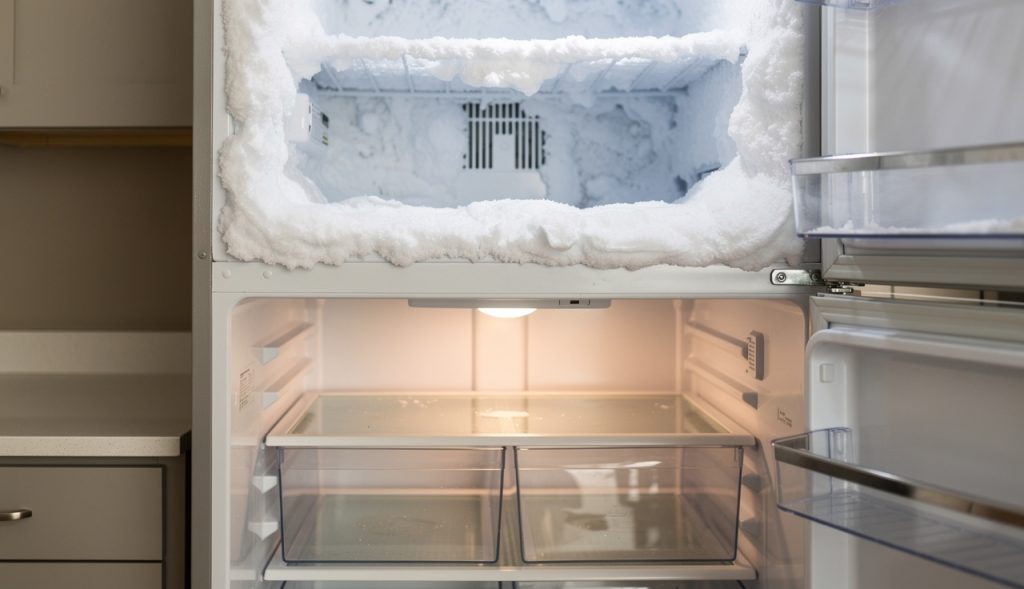
Refrigerator Not Cooling but Freezer Works: Diagnostic Tree
Freezer cold, fridge warm: a step-by-step diagnostic tree in the order a tech checks it.
Read the guide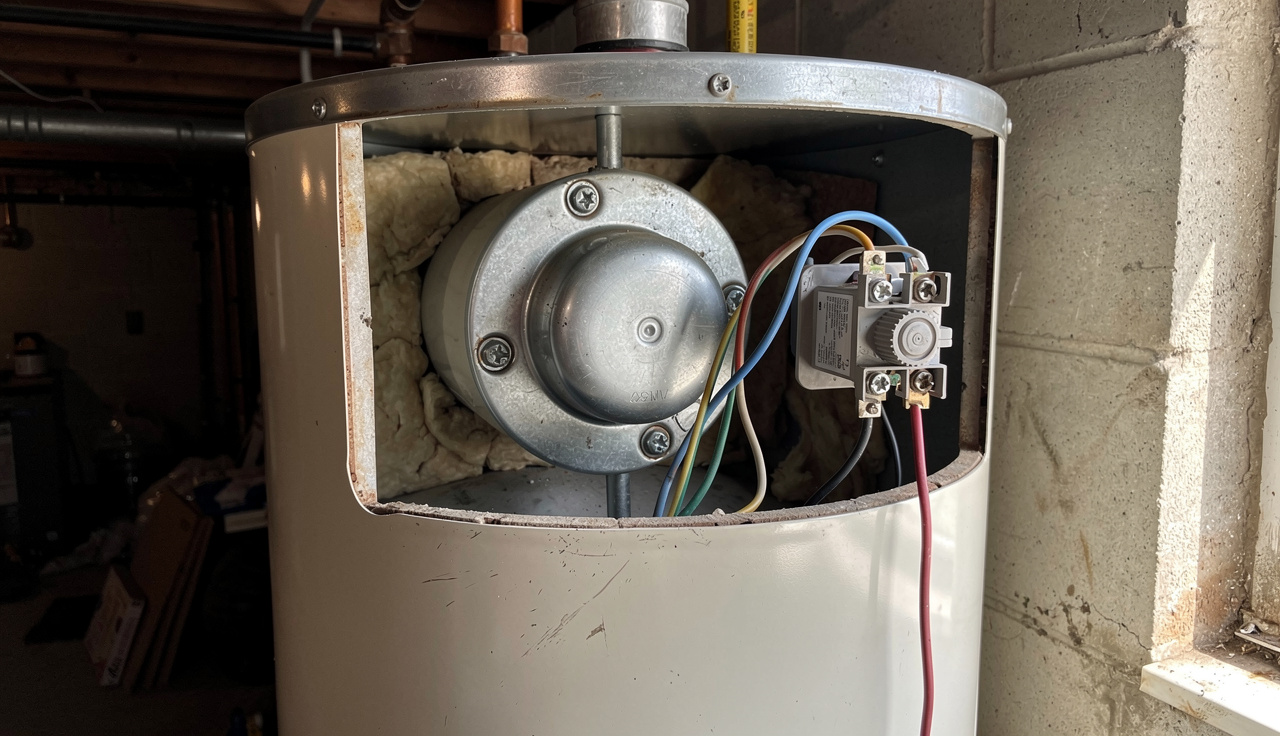
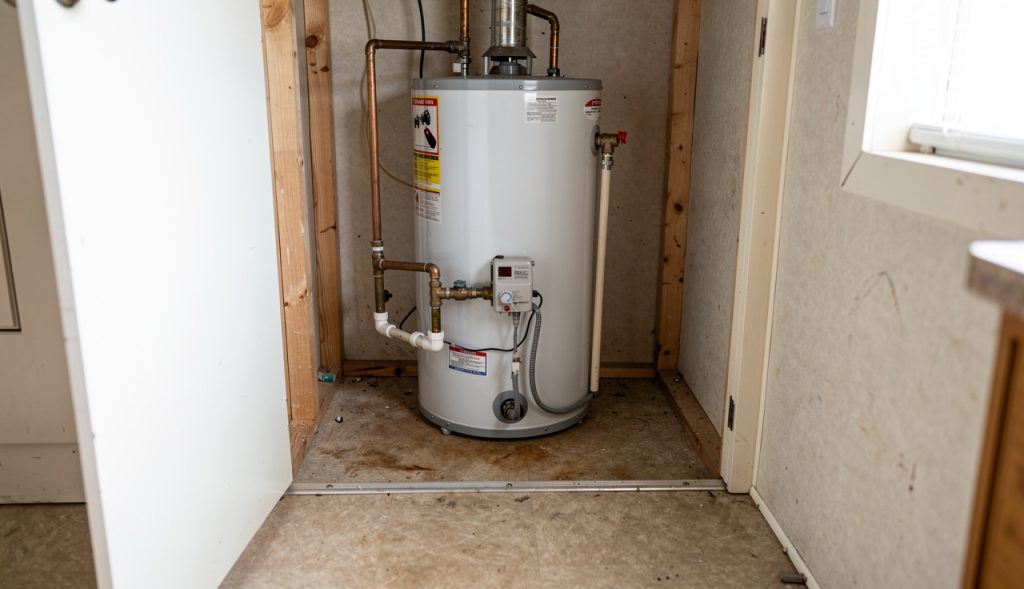
Here is how an electric water heater thinks: the upper thermostat and upper element heat the top of the tank first. Only when the top is up to temperature does the power switch down to the lower thermostat and element. That design is why the symptom tells you which part failed. No hot water at all means the upper element or upper thermostat has failed. Hot water that runs out fast — the classic half-tank — means the lower element is gone.
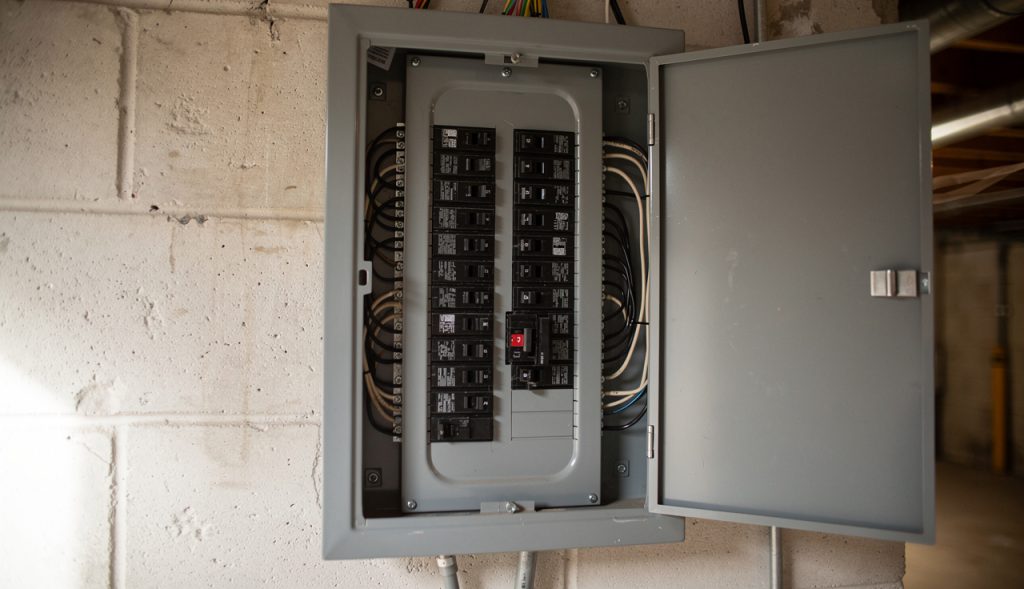
Before anything else, look at the panel. Electric water heaters run on a 240-volt double-pole breaker. A breaker that has half-tripped can still pass one leg of power and leave the heater dead or the elements running at half voltage.
Behind the upper access panel there is a high-limit switch with a red reset button. If the tank overheated — a stuck thermostat, a dry-fired element, a sediment problem — that switch pops and cuts power to everything.
STOP: Power off at the breaker before you remove the access panel. The terminals behind that panel are live at 240 volts, and there is no safe way to work around them energized. Turn the breaker off and prove it dead with a tester at the element terminals before you touch anything.
With the power off and the panel off, push the red button in until it clicks. Put the panel back, restore power, and see what happens.
Power off and proven dead. Then:
If you are not comfortable with a meter and 240 volts, this is where you stop and call someone. There is no shame in it — the panel is live and the water is right there.
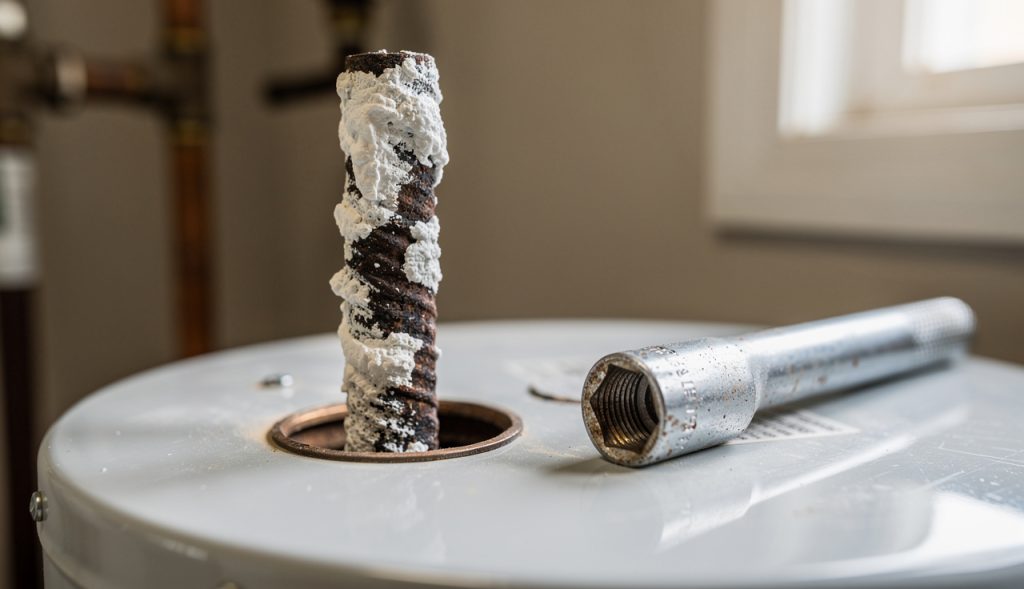
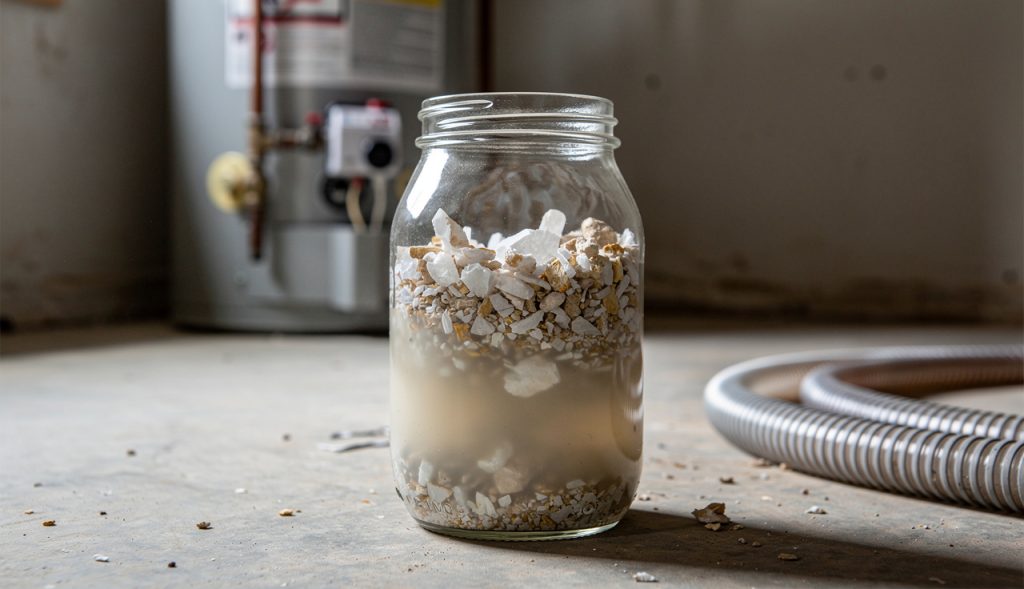
Minerals settle to the bottom of the tank and bury the lower element. A buried element cannot shed heat into the water, so it overheats and cooks itself. It also makes the tank rumble and pop as steam forms under the sediment layer.
| Item | Typical 2026 range |
|---|---|
| Element, part | $15–$40 |
| Element replaced, hired | $150–$300 |
| Thermostat, part | $15–$30 |
| Thermostat replaced, hired | $150–$300 |
| Both elements and thermostats, hired | $300–$550 |
| Element wrench | $10–$20 |
| New tank, 40–50 gal, installed | $900–$1,800 |
| Diagnostic service call | $100–$200 |
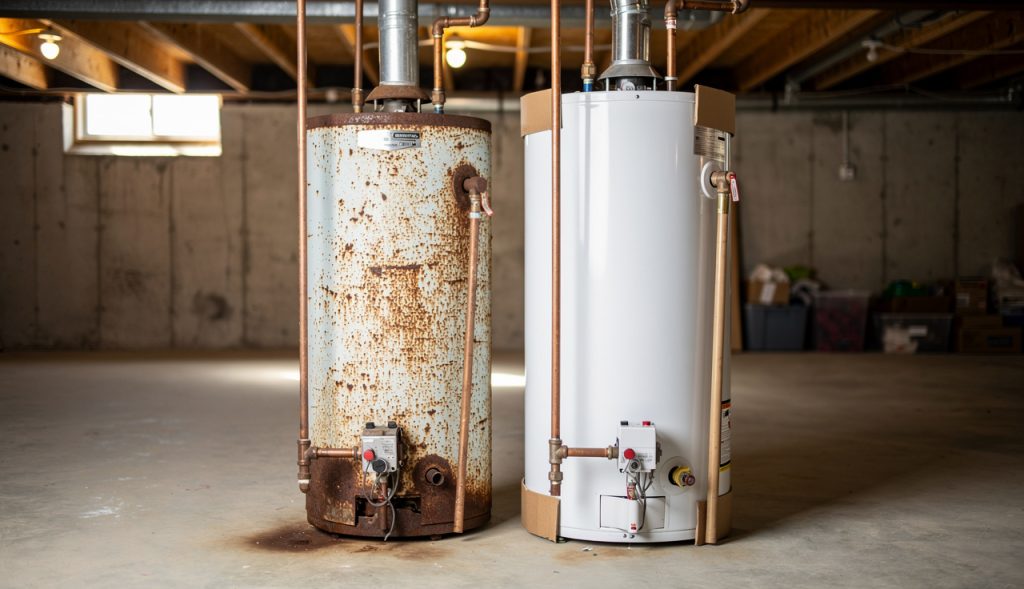
A tank past 10 years old with a failed upper element is usually a replace decision, especially if there is any rust at the fittings or the drain valve. The next failure is not far behind, and a leaking tank in a closet or an attic does more damage than the heater costs.
Look at the bottom of the tank and around the fittings with a flashlight. Rust streaks, weeping at a nipple, or a soft spot in the floor under it are all signs to stop repairing and start replacing.
STOP: 240 volts and water in the same enclosure. If you cannot prove the power is off with a tester, do not open the panel and do not touch a terminal. That is a pro job and it is not worth the risk.
STOP: If you see water leaking from the tank body itself — not a fitting — the tank is done. Kill the power and shut the water off. No repair fixes a rusted-through tank.
Freezer cold, fridge warm: a step-by-step diagnostic tree in the order a tech checks it.
Read the guideThe system runs but the house will not cool. Checks in order, from the free ones up.
Read the guideReal installed costs, real failure modes, and which one fits your house - no sales pitch.
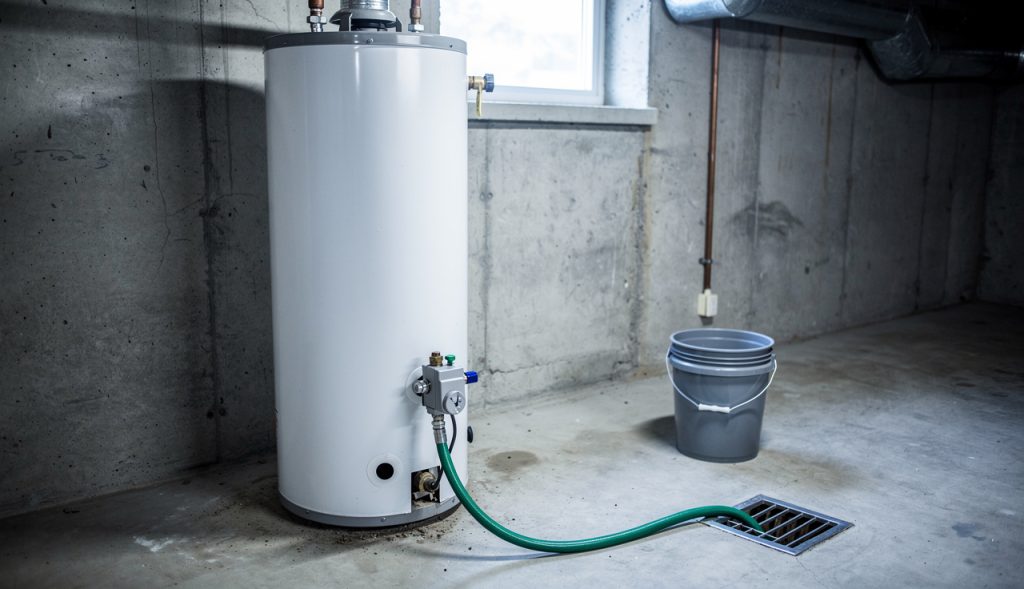
Read the guideSediment shortens a water heater life. How to drain and flush it safely, step by step.
Read the guideWhat a water heater replacement actually costs in 2026 - tank and tankless, with the extras itemized.
Read the guideWhat homeowners actually pay for a new AC in 2026, and the line items that move the price.
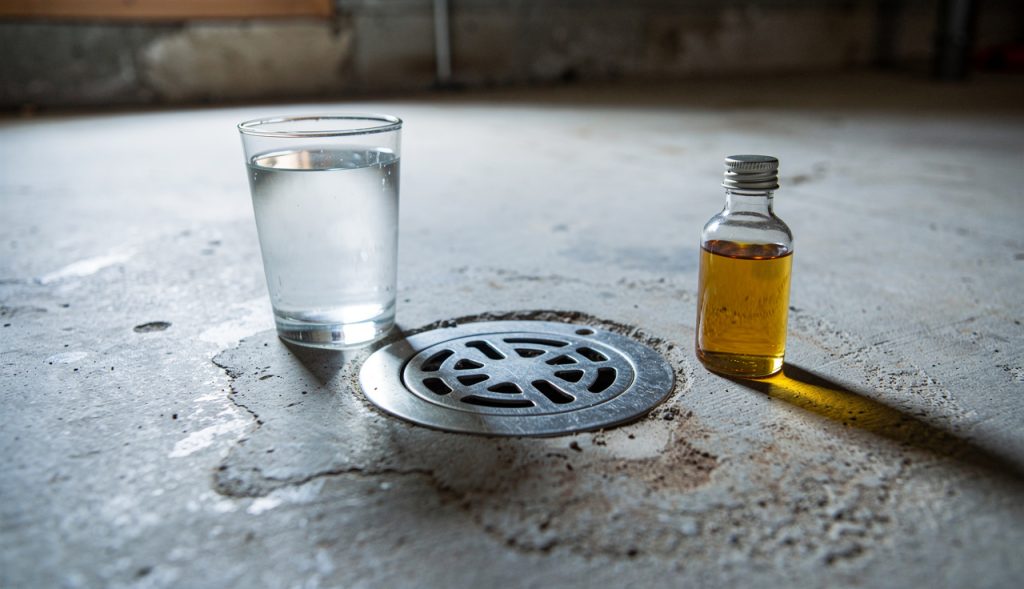
Read the guideWater sitting in a basement floor drain is not always a clog. Sometimes that drain empties into a sewage ejector pump, and the pump is dead.
Read the guideIf the dishwasher stopped draining the week a new garbage disposal went in, it is probably not the dishwasher. A plastic plug the size of a bottle cap is the usual culprit.
Read the guideWinter kills equipment through small skipped steps. First tip: a frost-free hose bib still freezes solid if the hose stays screwed on all winter.
Read the guideAll the bathroom outlets dead at once, lights still on? One GFCI on the chain tripped — and it may be in a different bathroom. The one-minute fix, and when it is not the fix.
Read the guideA tripped breaker sits halfway and won't reseat from there — push it fully off first, then on. Plus the two-column trap, the wiggle test, and when a re-trip means stop.
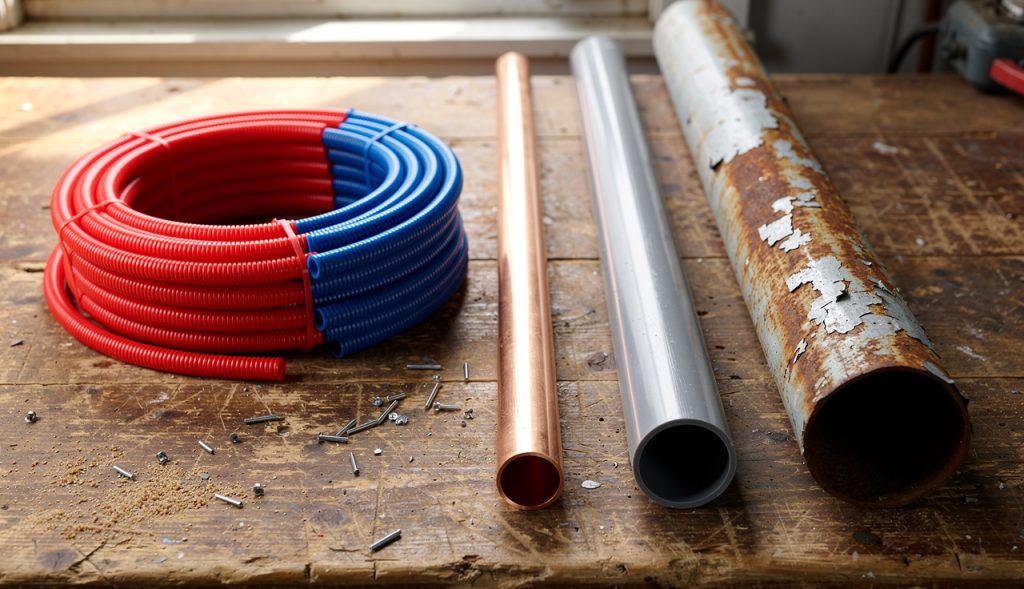
Read the guideCPVC, copper, the gray polybutylene, galvanized, or modern PEX — how to name the pipe in your house or mobile home on sight, how each one fails, and what to replace it with.
Read the guideLEDs do not burn out like old bulbs — when their driver capacitors wear out, they blink. Here is the check order: bulb, socket tab, switch — plus the ladder warning that matters more than the bulb.
Read the guideIf anything in your home burns gas, CO alarms are not optional — where they go, why the bedrooms come first, and why a chirping alarm gets a battery, never a burial in a drawer.
Read the guideSteam pouring off the outdoor unit, fan stopped, a whoosh from the cabinet — in winter that is defrost mode, not a fire. How the cycle works, and the signs that mean it is not defrost.
Read the guideBelow the balance point your heat pump calls in electric resistance strips that cost about 3x as much to run — and the EM HEAT switch can lock you onto them full-time. The checks, in order.
Read the guideOne 1,500-watt heater is 12.5 amps — the entire continuous budget of a 15-amp circuit. Why the trips stack up at night, and why the extension cord is the most dangerous part.
Read the guideA chirp means low battery OR end of life, and they sound the same. Read the date on the back first: smoke alarms expire at 10 years, CO alarms at 7 to 10. The check order that ends the 3 AM chirp.
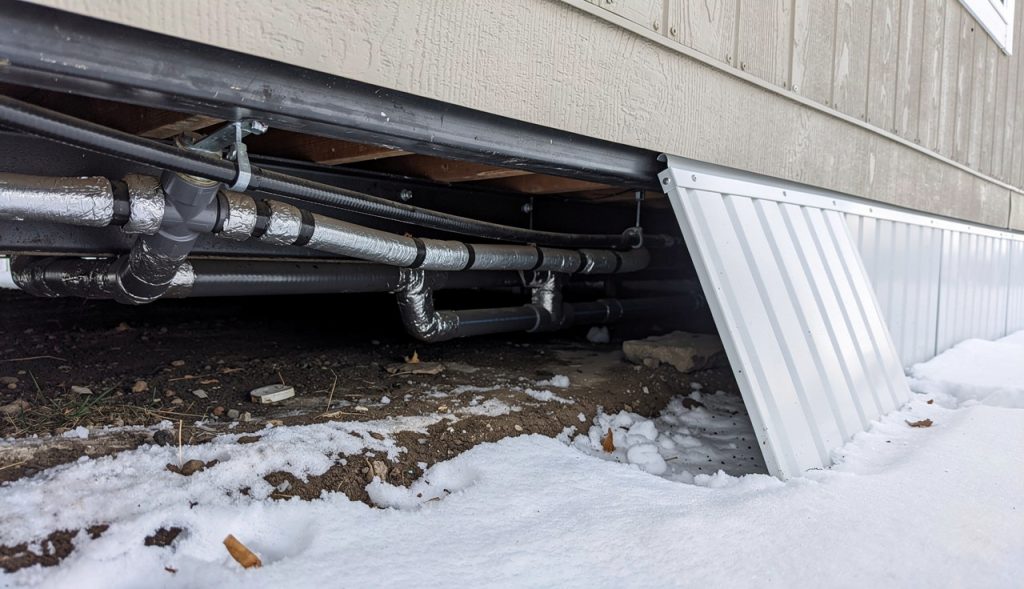
Read the guideMobile-home lines live in the belly and freeze in one hard night. Where the freeze starts, heat tape and skirting done right, and the one thawing tool that burns homes down every winter.
Read the guidePush the empty tub sideways. If it stays where you pushed it instead of springing back to center, the snubber ring is worn — the real diagnosis from a 2006 Maytag, and why WD-40 makes it worse.
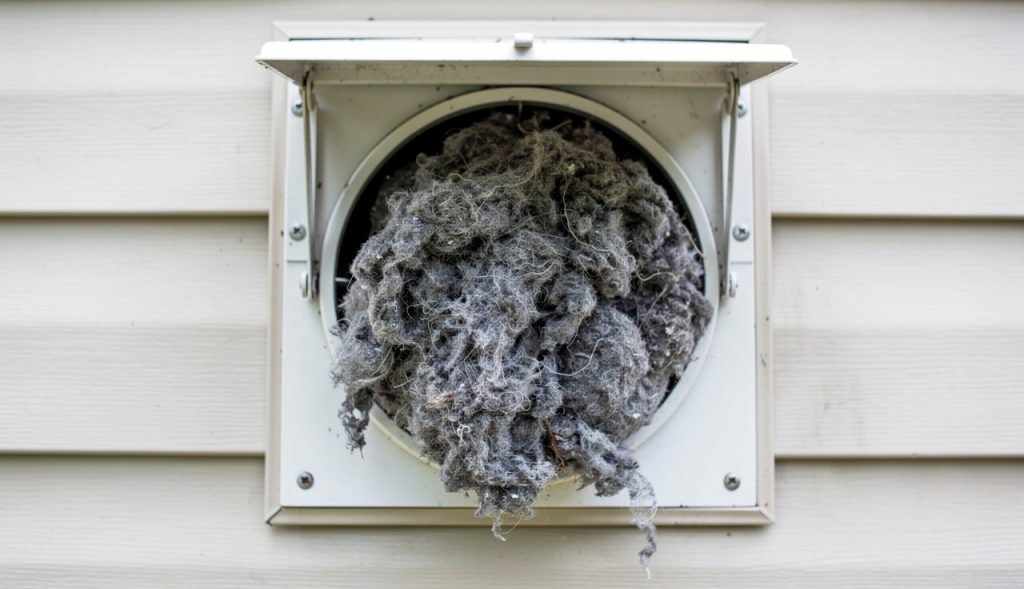
Read the guideA dryer that gets hot but dries slower every month almost never needs an element — it needs its vent back. The screen clog at the outside wall, the slack-coil mistake, and why hard pipe is the safe answer.
Read the guideThat bang is a pressure shockwave slamming your pipes. Which valves cause it, why air chambers stop working, when arrestors fix it — and when high house pressure is the real culprit.
Read the guideThe tank is slowly leaking into the bowl and the fill valve keeps topping it off. The 20-minute dye test proves it, the flapper fixes it for under fifteen dollars — hundreds of gallons a month say do it this week.
Read the guideHot water only + rotten eggs = bacteria reacting with the sacrificial anode rod inside your tank. The heat sanitize, the aluminum-zinc rod swap, and the powered rod that ends it for good.
Read the guideThe pops are little steam explosions under a blanket of mineral scale. What the sediment is doing to your tank and your bill, how a real flush goes, and when the damage is already done.
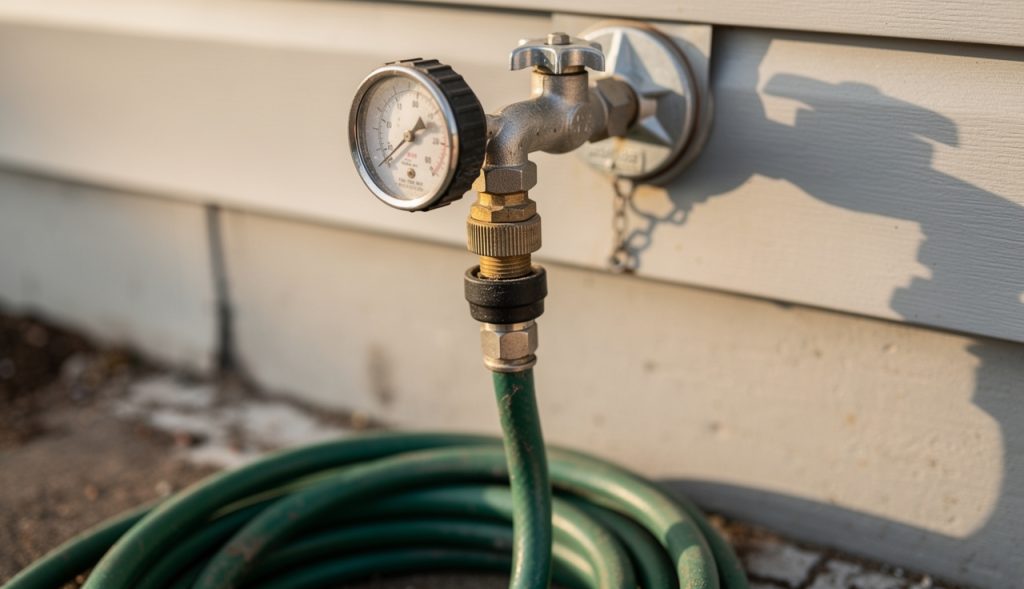
Read the guideA fifteen-dollar gauge on an outside faucet tells you the truth in two minutes. Normal is 40 to 80 psi — over that eats appliances, under that has its own list of causes.
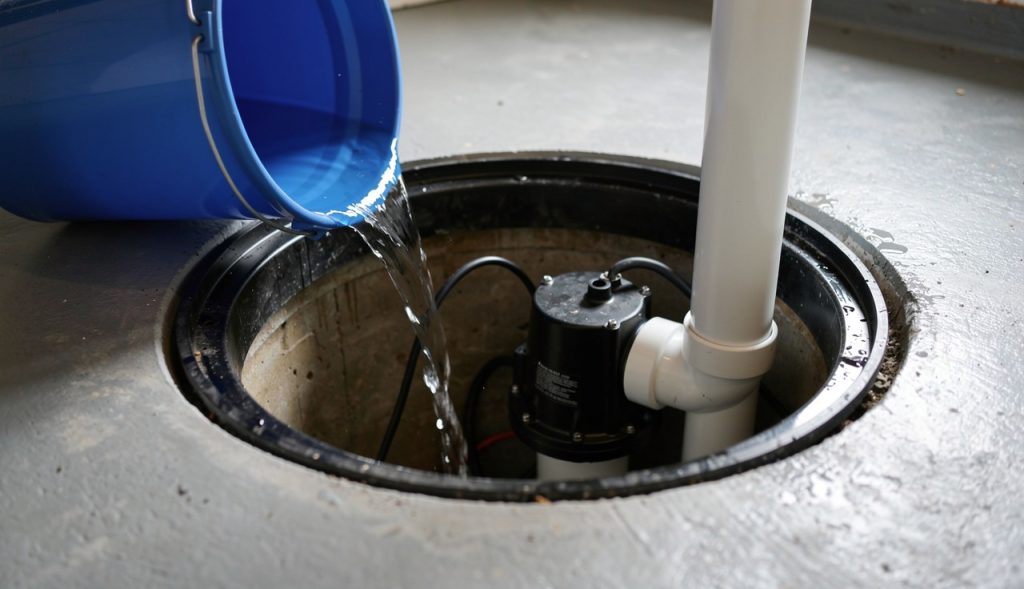
Read the guideFive gallons of water and two minutes: either your pump proves itself or it tells you it is dead while the pit is still dry. Floats, check valves, and the battery backup that ages out in the drawer.
Read the guideYour home runs on two 120-volt legs. Lose one and half the house dies while the dryer runs but will not heat. Why this is the power company first call — and why a lost neutral is the emergency version.
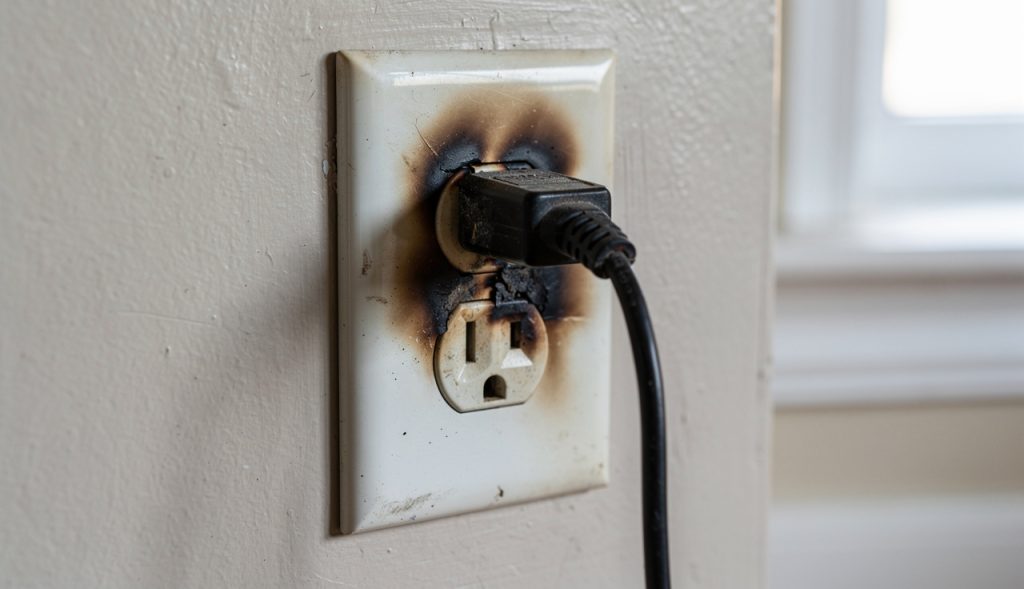
Read the guideWarm with nothing plugged in is a warning, and buzzing usually means arcing at a loose connection — often a backstabbed wire letting go after twenty years. The safe checks, and the stop lines.
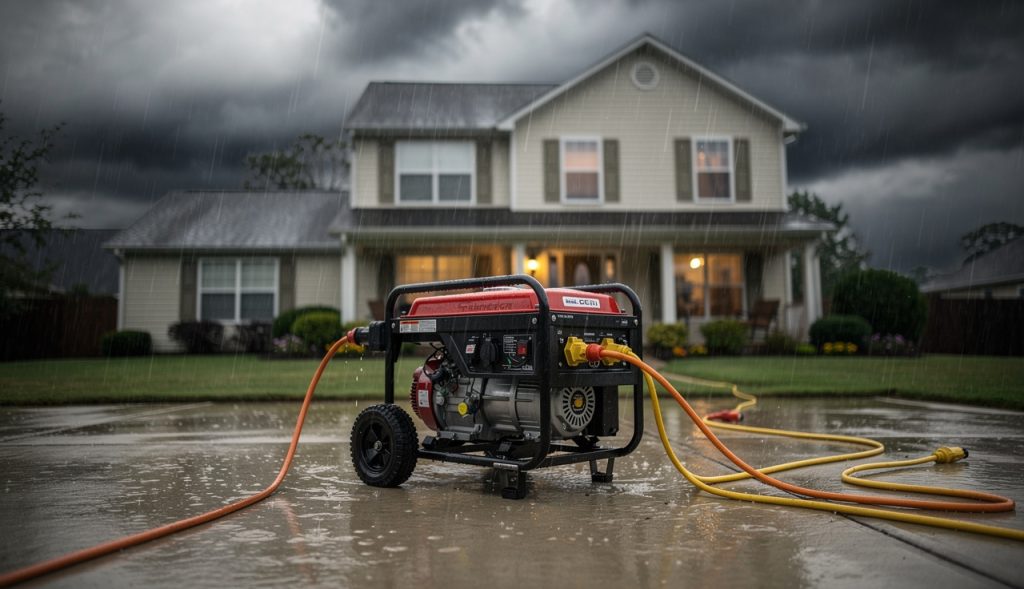
Read the guidePlugging a generator into your house the wrong way energizes the lines outside at full voltage. The safe ladder — cords, transfer switch, interlock — and the one cord that is never allowed.
Read the guideNo ground wire does not mean no options. GFCI protection is legal and protects people, a real ground protects equipment, and the two-dollar cheater plug does neither. The ladder, cheapest first.
Read the guideA furnace that will not stay lit through a cycle is aging in dog years. The check order starts with the filter and the limit switch story — and ends with the one cause that has been there since install day.
Read the guideShipping bolts, level feet, a springy floor, one heavy bath mat, then the suspension itself. Both machine types, the push test for the suspension, and why a walking washer never gets run unattended.
Read the guideA mobile home water heater is not a house water heater with a different sticker on it. The tank connects from the side — the cold inlet and the hot outlet bo...
Read the guideMobile home furnaces are downflow units — the blower pushes heated air down into a duct system that runs under the floor. They are also built for the higher ...
Read the guideOn a double-wide, one flexible duct under the home carries all the air to the far half of the house. It is called the crossover duct, and when it is crushed,...
Read the guideA disposal that hums is a disposal that is getting power but cannot spin. The motor is alive and the flywheel is jammed — usually a bone chip, a bottle cap, ...
Read the guideWhere a disposal leaks tells you what the fix is. Dry the whole unit and the cabinet under it with a towel, then run water — sink running, disposal off — and...
Read the guideA blank thermostat screen is a power problem, not a thermostat problem, most of the time. The thermostat needs low-voltage power from the furnace or air hand...
Read the guideBefore you diagnose anything, find out which machine you are standing in front of. A gas furnace blowing cool air and a heat pump blowing cool air are two di...
Read the guideIce on the refrigerant lines means the system is running below freezing at the evaporator coil, and that only happens for a couple of reasons — restricted ai...
Read the guideA gas water heater with no hot water is usually one of three things: the pilot is out, the thermocouple will not hold the pilot lit, or the gas control valve...
Read the guideEvery drain in the house holds a U of water in its trap. That water is the seal that keeps sewer gas out of the living space. A drain that never gets used — ...
Read the guideA slow or dead refrigerator water dispenser is almost always a water supply problem, not a refrigerator problem. Work the list in order: the filter first, th...
Read the guide